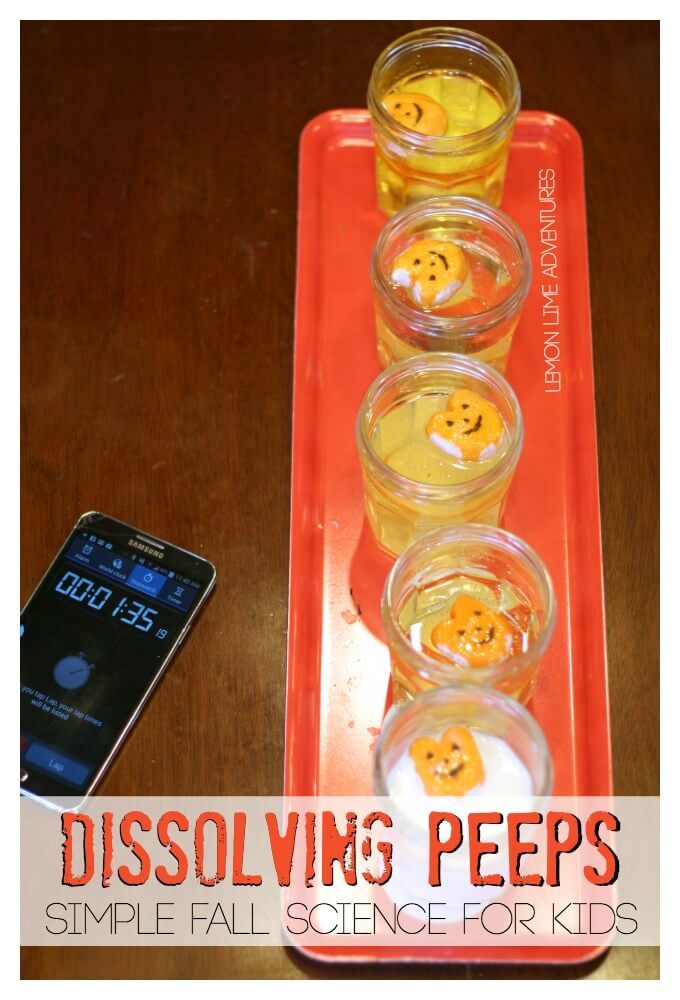
Who does not love Peeps? I know we do! They aren’t just a “yummy?” treat, but they also are so fascinating to dissect and manipulate! Ever since we did our fun experiments with peeps in the spring, we have been dying to try some more experiments out! What better way to celebrate Halloween and Fall than with an experiment in dissolving peeps?
{THIS POST MAY CONTAIN AFFILIATE LINKS TO MATERIALS I RECOMMEND. ANYTHING YOU PURCHASE THROUGH THESE LINKS HELPS SUPPORT LEMON LIME ADVENTURES. THANK YOU IN ADVANCE FOR CHOOSING TO SUPPORT US.}
Set-Up For Dissolving Peeps Experiment
Materials:
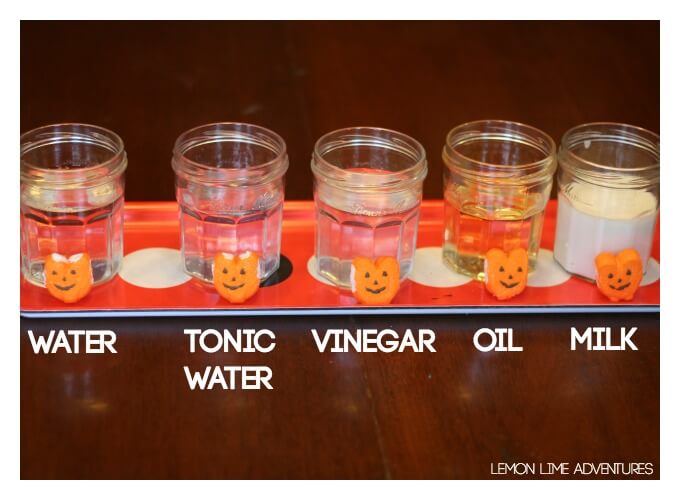
Milk
Water
Tonic Water
Oil
Vinegar
Peeps (any will work… we used the pumpkins, but have the ghost on hand to try next)
Optional:
Timer
Pipettes to move the liquids
Set Up:
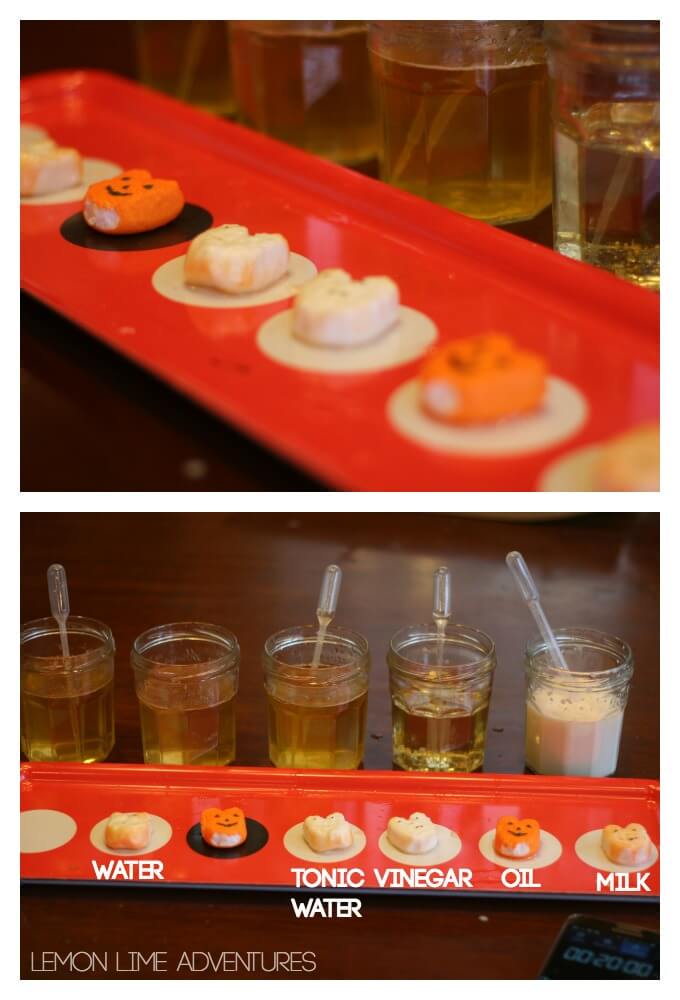
Fill 5 cups up with the same amount of liquid in each glass.
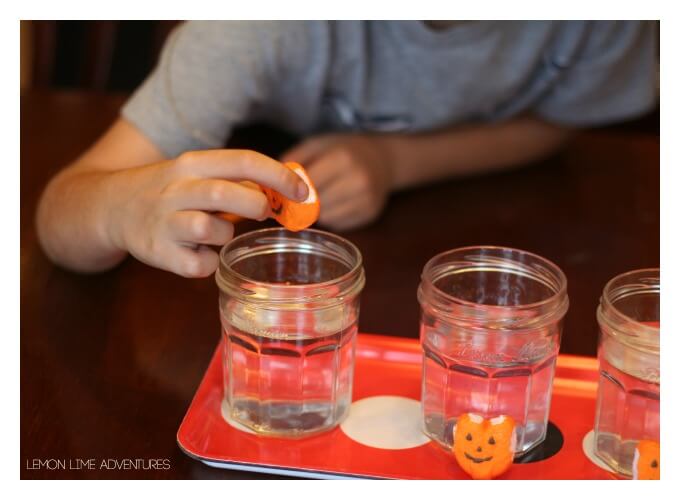
Place the candy pumpkins in a bowl near the glasses for easy access.
Conducting the Dissolving Peeps Experiment
Just recently we did an experiment where we tried to dissolve candy pumpkins, so the boys (ages 7 & 9) were pretty familiar with this set up and what we needed to do.
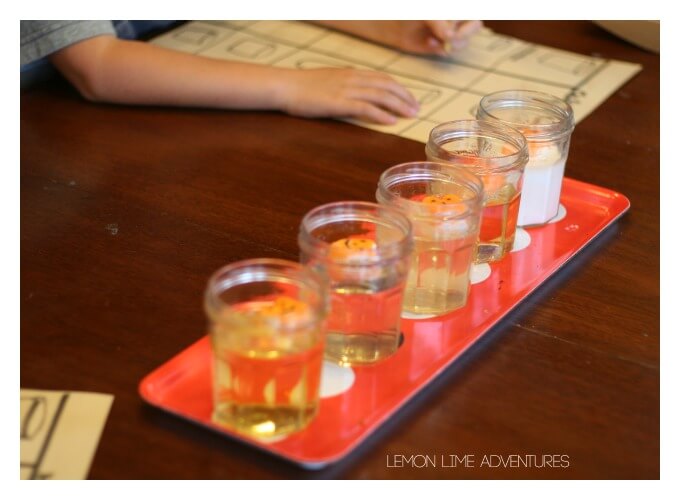
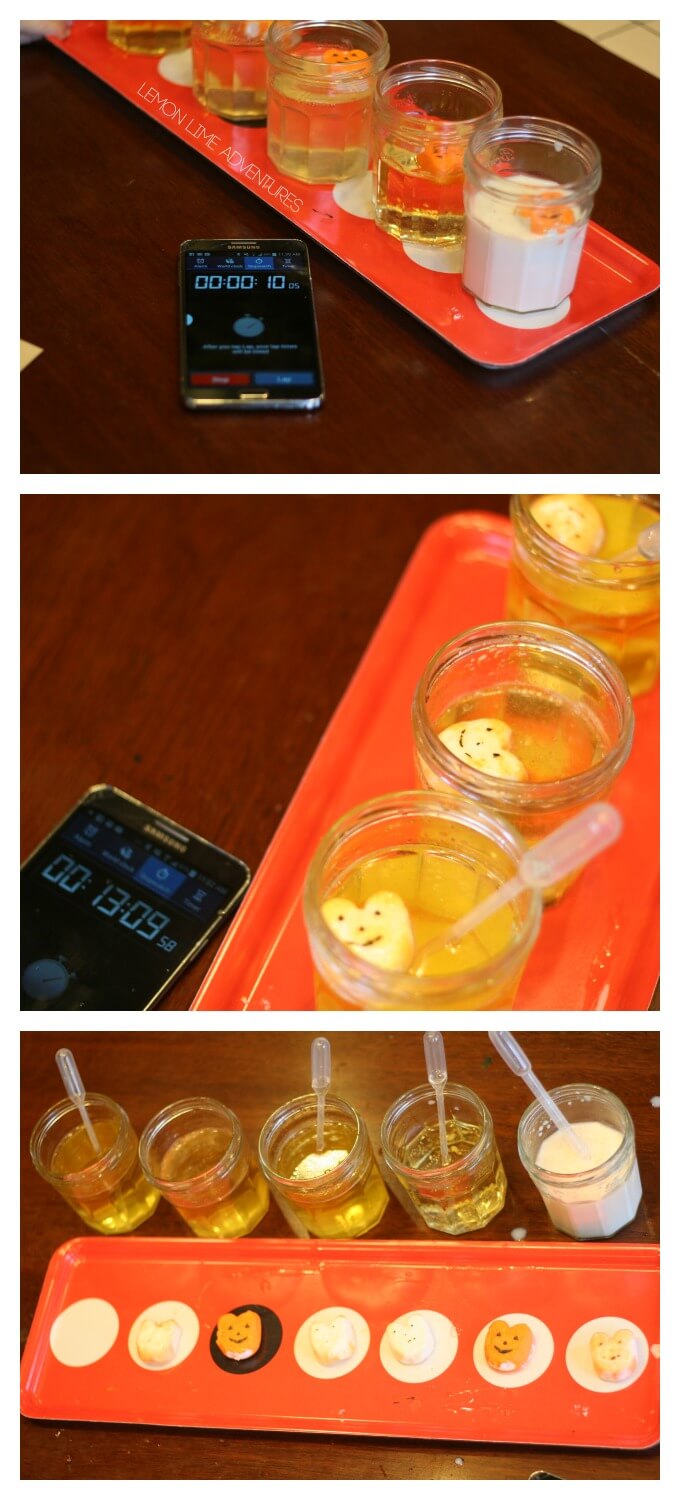
As always, we began with a discussion and predictions of what we thought would happen. This time I made them a little chart to draw their observations of the peeps before the experiment and we predicted how long it would take them to dissolve in each liquid.
It was really cool to hear their thinking and reasoning on why they chose the times and amounts they did. Right off the bat, the boys both found out the peeps float (causing a small hiccup in the dissolving process).
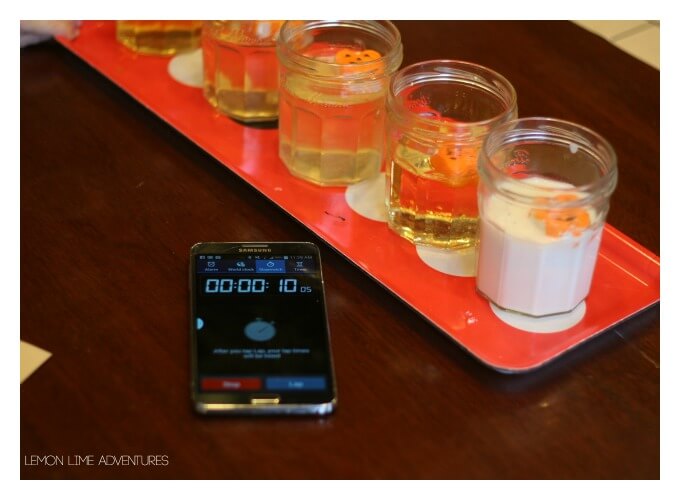
Since our predictions were on time it takes to dissolve the peeps, we needed a way to measure the rate of dissolution. We used the stopwatch on my phone, but any sort of timer should work, that is easy for children to manipulate and understand.
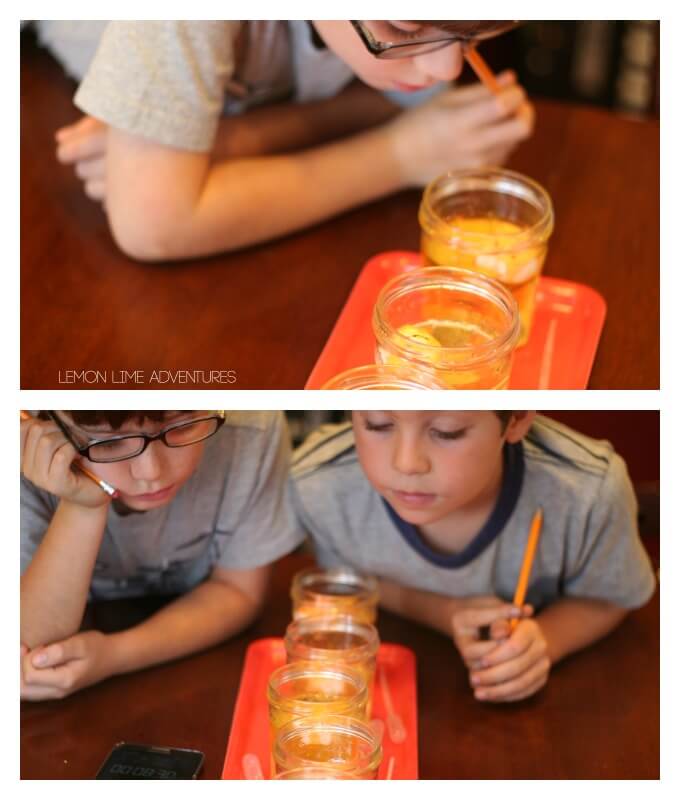
Because the peeps were floating, we had to turn them. We decided to do this every 2 minutes for an equal amount of time and to keep things constant.

After 10 minutes, we decided to use the pipettes to squeeze one squirt of liquid on the top of each peep. This was something the boys wanted to try, and I like to let them lead their experiments, so we added this detail and notated when we changed our procedures.
Making Observations and Noticing Dissolution of the Peeps
If you have ever researched the science behind peeps, you know that dissolving them is a mystery. In fact, there is no way to dissolve the peeps, but I didn’t tell the children this of course.
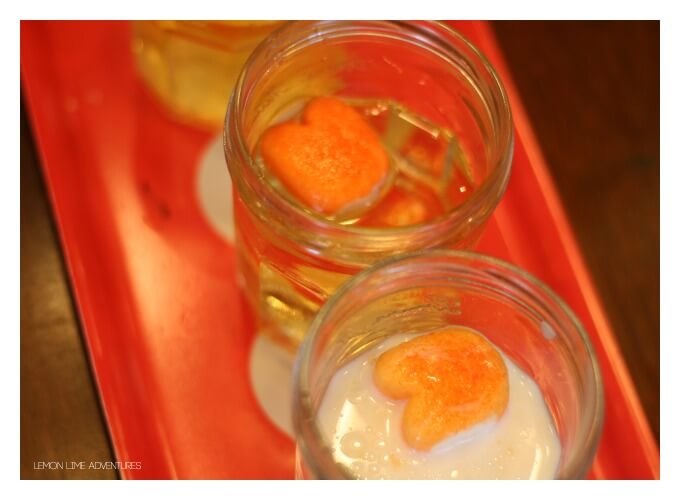
What we did do, is make constant observations on the changes that were occurring. It was fascinating to watch as some of the peeps started to change immediately and some seemed to never change.
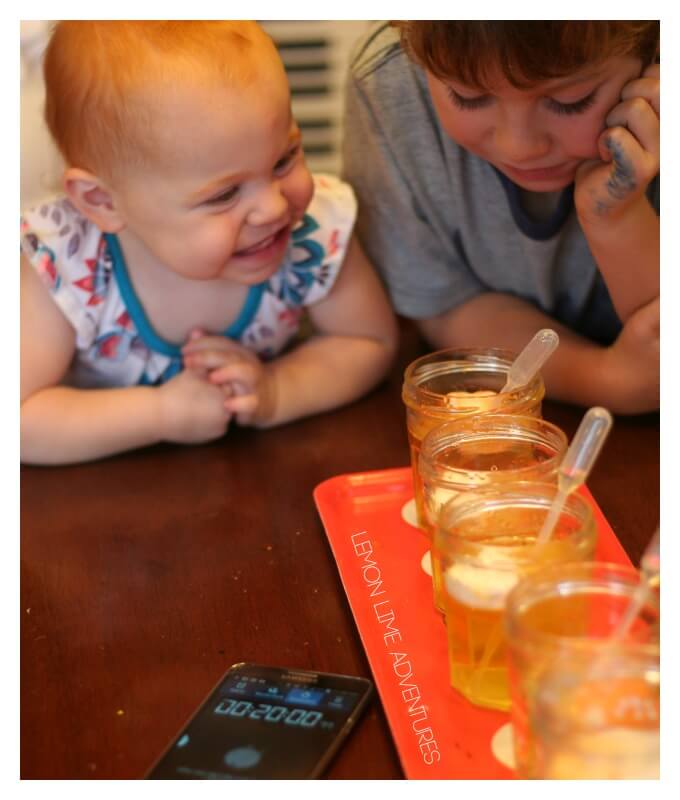
The entire family enjoyed this experiment, even our toddler. She couldn’t get enough of the pointing and the oohs, and ahhs. I love how we are able to involve our toddler in our science explorations, as I know they are helping her develop such a rich vocabulary that should would otherwise not be subjected to.
You can see on this timer that we let our experiment go for 20 minutes, which is about the attention span of most children in the primary grades. We decided that even though the peeps had not dissolved, we could make some great assumptions and conclusions from what we did see.
How cool! Can you see the difference in the peeps? Here, I will show you up close the changes that occurred!
There are so many places we could take this experiment and so many ways we could play with our peeps. This experiment is great for Halloween, Thanksgiving, and any fall play! Wait, no, this experiment would work with ANY peep! You better believe when the trees come out at christmas, the heart come out for Valentines and the classic “Peeps” come out in the spring, we will be trying more and more Peep experiments!
Do you have a favorite Halloween or Fall Science Experiment? I would love to know! Connect with me on Facebook, Twitter, Google+, Pinterest, Instagram or subscribe by email. I can’t wait to hear your ideas.
Looking for more STEAM (Science, Technology, Engineering, Arts and Math) projects and inspiration?
Check out my new book STEAM Kids and get a FREE STEAM Kids Halloween bookif you buy during launch week! You can get both books (eBook PDF format) for only $9.99! But the sale and bonus book offer ends September 21, so grab your copy now and don’t miss out!
Get more information on STEAM Kids by clicking here.
Or go order your copy now! eBook PDF or Paperback
ARE YOU READY FOR MORE SCIENCE FUN?
TIME FOR SATURDAY SCIENCE BLOG HOP!
Every Saturday we will get so many wonderful ideas linked up from around the web that we have decided we want to feature some of these great ideas. That’s why every Saturday, I will pick from the posts linked up and feature my absolute favorites. This might be a hard choice to make, luckily you can always head over to last week’s post and check out more great science resources!
This Week’s Feature: Fall Science for Kids
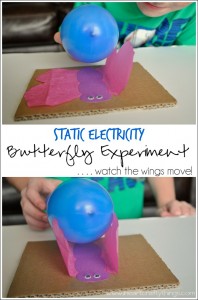
Static Electricity Butterfly Experiment | I Heart Crafty Things
VISIT THESE GREAT BLOGGERS FOR MORE FUN SATURDAY SCIENCE EXPERIMENTS TOO!
Foam Block Engineering Challenge from The Science Kiddo
Bubbling Cloud Dough Science from Little Bins For Little Hands
Follow Dayna :: Lemon Lime Adventures’s board Learning: Science Lessons on Pinterest.


Pingback: Best Science Experiments for Kids - Lemon Lime Adventures
Pingback: Foam Block Engineering Challenge | The Science Kiddo
Pingback: Week 19 ~ Candlemas | Raising Little Shoots
Pingback: Totally Awesome Peeps Activities - Lemon Lime Adventures
I’m looking for experiments to do in plastic water bottles. Do you think this would work?
I don’t know why these wouldn’t work in a water bottle.
Pingback: 12 Candy Experiments for Kids
Pingback: Spook-takular Family Fun Pumpkin Carving Party - Crafty Mama in ME!
blue coating off