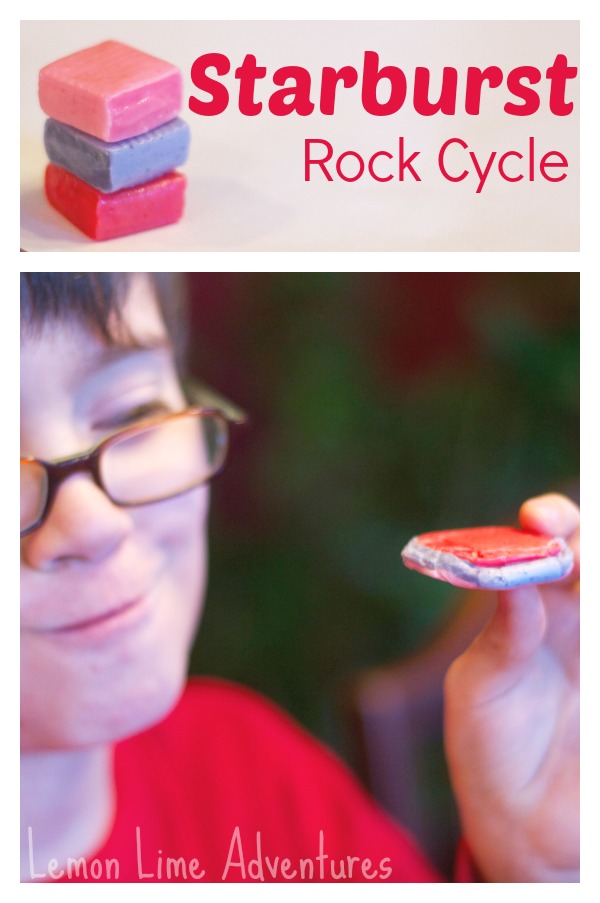
 Welcome back for another Saturday Science Blog Hop. Many of you may know from our weekly lesson plans, that we have been studying rocks for the last month. After watching few videos on YouTube about the rock cycle, the boys( age 6 and 8) wanted to experiment more with rocks. Today I am going to share our edible rock cycle for kids.
Setting Up the Rock Cycle for Kids
{This post may contain affiliate links to materials I recommend. Anything you purchase through these links helps support Lemon Lime Adventures. Thank you in advance for choosing to support us.}
Each child needs:
1 Square of Aluminum Foil
1 Square of Wax Paper
3 Starbursts (I like to use colors that stand out against each other)
{You will need this set up for each rock type}
Other Items Needed (to be used by an adult)
Toaster Oven
Towels
Oven Mitts
I like to have all of these things set out and ready when we start our activities. That way the activity moves smoothly and the boys aren’t waiting on my to get organized.
Making the Rock Cycle for Kids
There are three types of rocks: Sedimentary, Metamorphic and Igneous. As an adult, I get them confused. For this experiment, I feel it made the learning hands-on, visual and easy to remember. I have seen this experiment done where you keep putting the same three starburst back into the foil to show the process. However, I wanted to really allow my children the experience of doing the activity repeatedly from the beginning, so they could tactilely remember the process the “rocks” went through.
For each rock type, you will want to do the following beginning steps…
1. Unwrap your Starburst
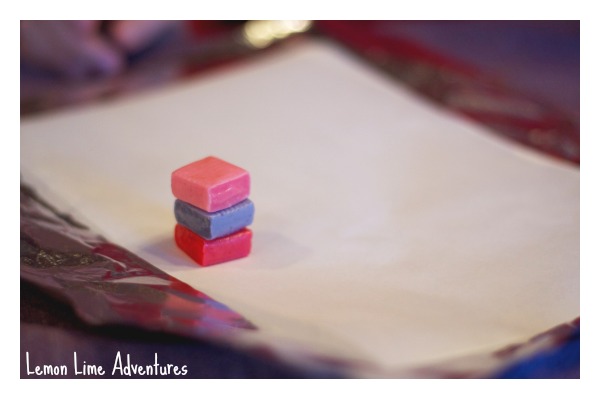
2. Lay the foil flat on the table. Place the wax paper on top.
3. Stack the 3 Starburst in the center of the papers.
4. Roll the papers over the Starburst tightly and form the foil around the starburst.
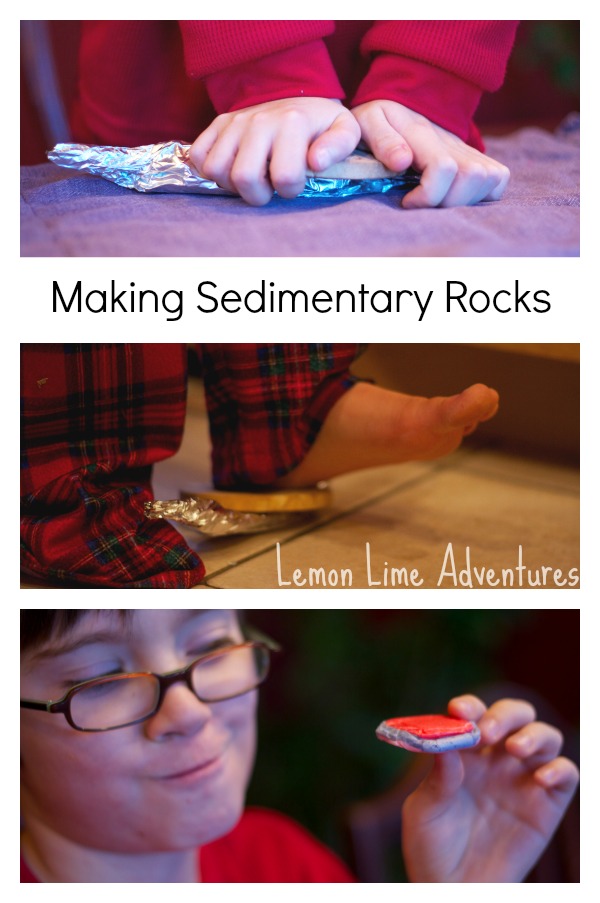
Sedimentary Rocks = Pressure Over Time
This phase is simple, but it takes some muscle. I explained to the boys how sedimentary rocks are formed and reviewed the video. I challenged them to change the shape of the three rocks (starburst) with their pressure alone. After some attempts with their hands, they decided to stand on the starburst. Voila… sedimentary rock!
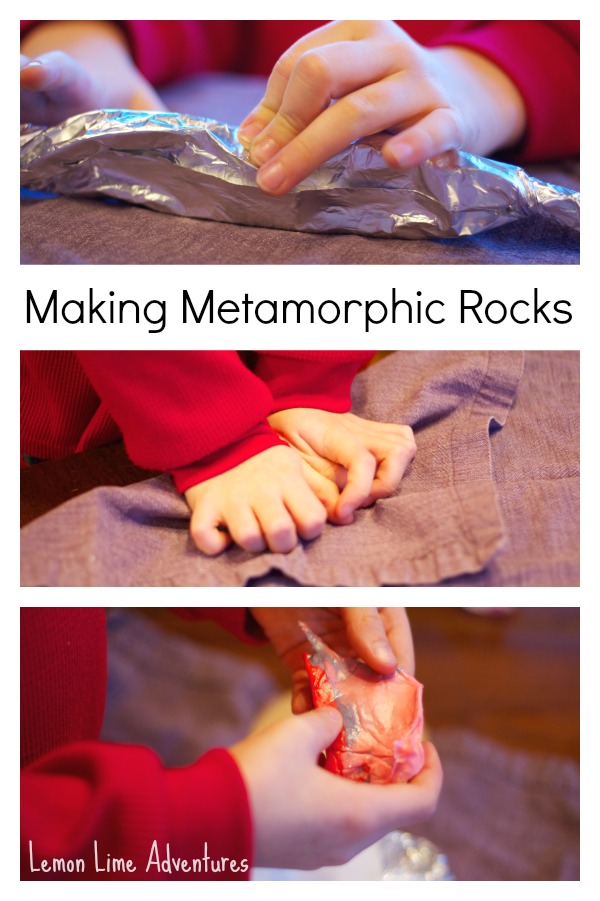
Metamorphic Rocks = Heat and Pressure
For this step, adult assistance is needed! After the children have wrapped up a new set of “rocks”, an adult can place them in the toaster oven. I left them for a very short time… about 2 minutes. This will very depending on your toaster oven. Basically, the foil was warm to the touch and when I squeezed on the sides, it was malleable. You don’t want it to melt here, just get soft.
I carefully wrapped the foil into a towel and let the boys apply pressure. They were amazed at how little pressure it took to smash the rocks together.
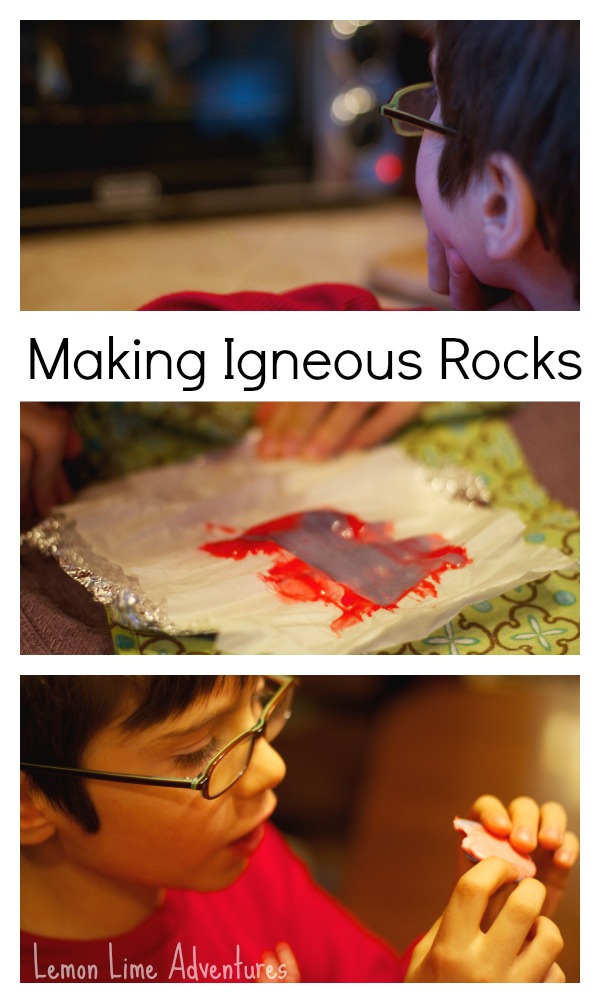
Igneous Rocks = Extreme Heat
Once again, the boys wrapped up their rocks. Each time we kept the same order of colors, so the observations were easier to make and describe.
For this step, I handled the foil wrapped candy until it cooled. I placed them in the toaster oven again on high heat for 5-10 minutes. The boys sat by waiting. I checked on it frequently, because I didn’t want the candy to burn. I kept it in the toaster until it had melted to a liquid. Once it had melted , I removed it and placed it on a towel for the children to observe. I carefully opened up the foil and let them see what had happened, but they were NOT ALLOWED to touch it until it had cooled.
Once it cooled, it was so fun to pull away from the wax paper and observe.
Rock Cycle for Kids Resources
The boys loved this project. I hate to admit that they ate each of the rocks after they were done observing the changes, the properties and comparing the different forms. It was more sugar than I really had planned, and in the future I might only allow them to eat one “rock type” in one setting.
My boys couldn’t stop chanting:
Sedimentary: Pressure
Metamorphic: Heat + Pressure
Igneous: Extreme Heat
I am quite certain this was so successful because of the books and videos we enjoyed this month. For your convenience, I have provided links to these books on Amazon.


We love using YouTube for making educational playlists for what we are learning. You can subscribe so you can see the playlists we create, or you can watch it here.
Are You Ready for More Science Fun?
Using Our 5 Senses from P is for Preschooler
What Floats? What Sinks? from Stir the Wonder
What is your favorite science activity? I would love to hear! Follow me on Facebook, Twitter, Google+, Pinterest, Instagram or subscribe by email. I can’t wait to hear your ideas.


We just read The Magic School Bus Inside the Earth. This would be a great follow up activity.
I agree! My kids are fascinated with everything rocks. We had to watch an eyewitness volcano video 2 times. We might even have to watch it again today.
Love this experiment! It so fun that it cements the learning! Can’t wait until Caden is older so we can do this too!
Thank you so much. I am sure he will love it when he gets older 🙂
Pingback: What Floats? What Sinks? | Stir The Wonder
Pingback: Junk Drawer Ice Science Experiment {Saturday Science} | Little Bins for Little Hands
This is an excellent way to illustrate the different kinds of rocks and how they’re formed. Okay, I’ll admit it – I learned from this post too! lol!
I completely learned while we were doing this unit. I am surprised how much I learn with the kids. Thank you for your kind words 🙂
Will I be able to melt the star burst in a crock pot instead of toaster oven?
I have never tried it, I am not sure.
Brilliant idea, and it cracked me up that all rocks were eaten afterwards. I might set it up here when we have more time. Thanks for sharing on my Stem Tuesday!
Thank you so much! It was a lot of fun but too much sugar.
Thank you for taking the time to list explicit directions and include pictures. You careful directions will make these demonstrations easy to replicate.
Thank you for taking the time to list explicit directions and include pictures. Your careful directions will make these demonstrations easy to replicate.
Pingback: Wiggly Worms: A Garden Science Activity - Lemon Lime Adventures
Pingback: Simple Science Experiments That Fizz - Lemon Lime Adventures
Pingback: The Lorax: Truffula Forest Sensory Bin - Lemon Lime Adventures
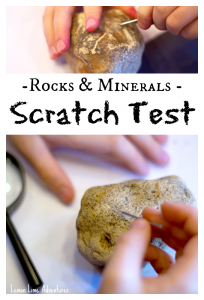
Pingback: Rocks and Minerals: Scratch Test - Lemon Lime Adventures
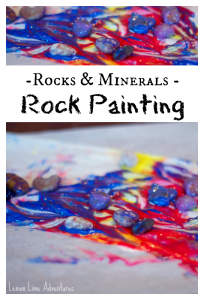
Pingback: Rocks and Minerals | Rock Painting - Lemon Lime Adventures
Pingback: 20 Must-Try Summer Science Activities for Kids - Lemon Lime Adventures
Pingback: Rocks and Minerals | Rock Doodles - Lemon Lime Adventures
I’m prepping to teach my 4th graders about rocks. This is a great idea. I can’t wait to “make rocks” with them.
Wonderful! Have you seen all the other rock posts I have?
Pingback: 19 Kitchen Science Experiments You Can Eat - ZuziFeed
Pingback: The Ultimate Guide to Hands-On Lesson Planning
Pingback: 19 Kitchen Science Experiments You Can Eat | Viral Theme
Love this! I’ve seen rock making experiments before, but this is definitely the tastiest!
Pingback: 19 Kitchen Science Experiments You Can Eat | Successful Paleo
I did this with my fourth graders, and they loved it! In order to make it a little bit faster to get through all my students, I used an iron which worked really well to demonstrate the heat and pressure.
Pingback: 19 Kitchen Science Experiments You Can Eat | Senior Voice
Pingback: Academic Activities | Pearltrees
Pingback: Sweet Tooth STEM Candy Plus Science and Math - Simple At Home
Pingback: Rock Activities For Young Children
Pingback: 19 Kitchen Science Experiments You Can Eat | SOCIOSCENE
Pingback: 19 Kitchen Science Experiments You Can Eat | Reach the President
Pingback: 19 Kitchen Science Experiments You Can Eat | BlogFactory
Pingback: 19 Kitchen Science Experiments You Can Eat | VMedia
Pingback: 19 Kitchen Science Experiments You Can Eat | awesome viral content
Pingback: 19 Kitchen Science Experiments You Can Eat - RenFeed Viral News
Pingback: 19 Kitchen Science Experiments You Can Eat | HardMug
Pingback: 21 Creative Ways To Use All That Halloween Candy: I'm SO Doing #11 with My Kids This Year! | How Does She
Pingback: 19 Kitchen Science Experiments You Can Eat | Eat Them All!
Pingback: 12 Candy Experiments for Kids
Pingback: 19 Kitchen Science Experiments You Can Eat | Effective Weight Loss and Diet Tips
Pingback: 19 Kitchen Science Experiments You Can Eat | Walzar
Pingback: Top Ten Candy Science Experiments for Kids - Lemon Lime Adventures
Pingback: 19 Kitchen Science Experiments You Can Eat – Margent
Pingback: 19 Kitchen Science Experiments You Can Eat | Buzz Ecstasy
Pingback: Sweet Tooth STEM Candy Plus Science and Math – Simple At Home
Pingback: 19 Kitchen Science Experiments You Can Eat | Fun Time Viral
Pingback: 19 Kitchen Science Experiments You Can Eat - You Be Fit
Pingback: Rock Cycle Candy Recipe - Making Metamorphic Rock
Pingback: Total Solar Eclipse Painted Paper Plates - Sun and Moon Crafts
Pingback: Candy STEM Activities That Are As Delicious As They Are Educational!
Pingback: 20 Edible STEM Activities For Kids - The Homeschool Scientist
Pingback: 37 Cool Science Experiments for Kids to Do at Home – All things here
Pingback: The Best Edible Science Experiments You’ll Actually Want to Eat – EDUCATION WEBSITE FOR HARDWORK STUDENT INDEITECHZ.COM