It is no secret that we have a love of science and messy activities around here. What you might not know is that my daughter, Super B, is absolutely obsessed with Disney’s Frozen. She has the Elsa dress, the Anna dress, the tiarra, the bath soap, the bandaids and even the fruit snacks. You see, she loves everything about Disney’s Frozen. So much, that when my partners at Bounty told me about their newest product, we got a little more excited than the average person. As part of the Quicker Picker Upper Crew, we had the pleasure of checking out this new product a little early and digging into some Disney Frozen excavations for our newest simple winter science experiment.
* This post may contain affiliate links for your convenience. Click here for my full disclosure.
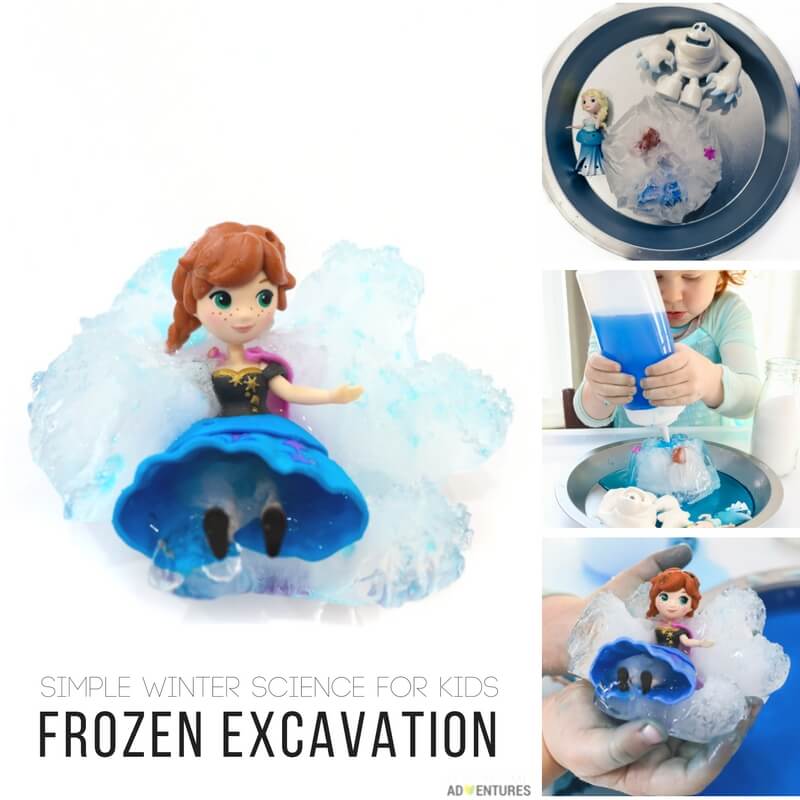
The minute our box arrived from our friends at Bounty, we knew exactly what we wanted to do! The problem is that we wanted to do too many things. I am pretty sure we could have set up an entire Disney Frozen themed party without even batting an eyelash. The only problem was the lack of party goers, so we just made our own fun and can’t wait to share all the Disney Frozen fun we came up with. The first of these exciting activities, was our frozen excavation experiment.
Super B (3) is no stranger to excavation. One of our most popular science experiments is the time we froze our brother’s favorite toy and tried to get it out of ice! Check out our LEGO excavation here.
Frozen Excavation Science Experiment for Kids
What You Need:
Tray/Shallow Dish
Castle Mold
Disney’s Frozen Characters
Squeeze Bottle
Blue Food Coloring
Small Jar
Water
Epsom Salts
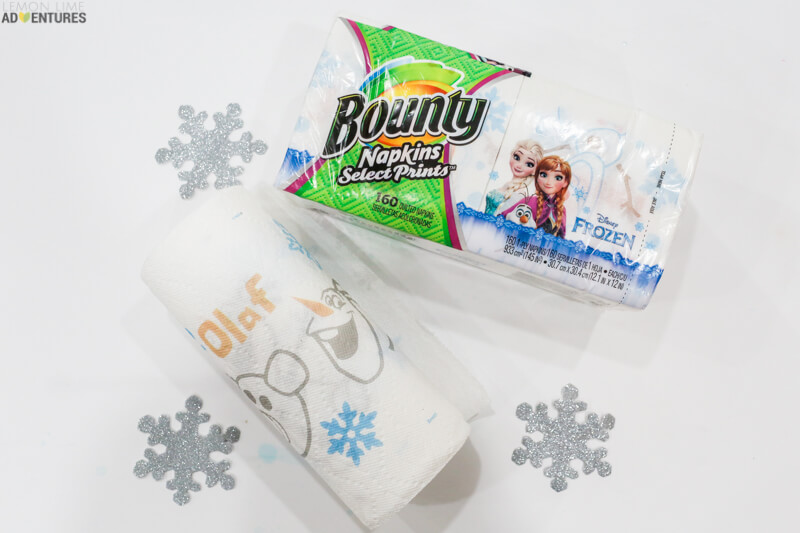
Bounty prints featuring Disney’s Frozen


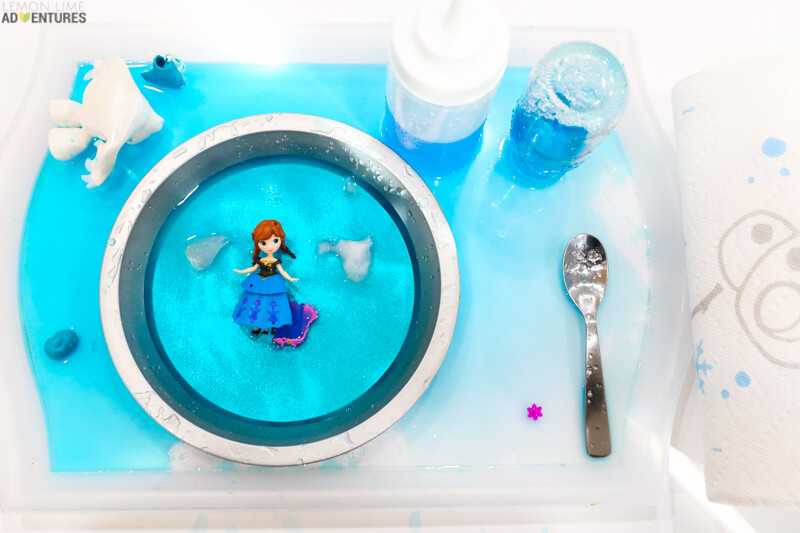
Set-Up Your Frozen Experiment
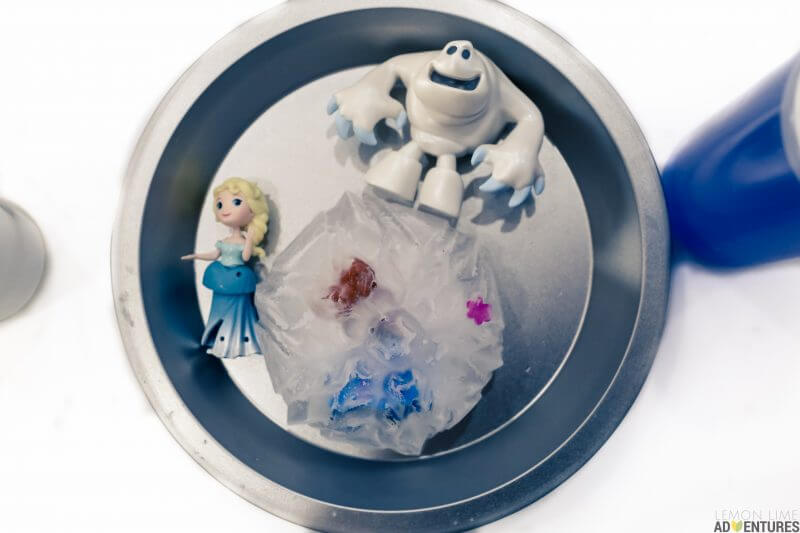
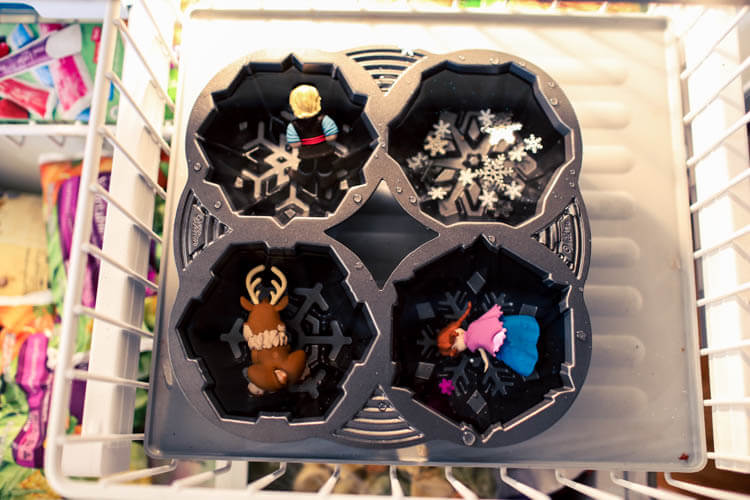
Start by filling your mold with water and placing your Disney’s Frozen Characters in the water. Place your molds in the freezer and let them freeze overnight. When you are ready to do your experiment, simply turn your mold over and run warm water on the back of the mold so your ice sculptures release.
Fill your squeeze bottle with warm water and add a drop or two of blue food coloring. This will be your melting ice. Set this on your try with your ice sculpture.
In a small container add epsom salt as your snow and set on your tray with extra Disney’s Frozen characters. Don’t forget to have plenty of Bounty prints featuring Disney’s Frozen handy and ready for the mess.
Conducting the Experiment
Now you are ready for some frozen and Disney’s Frozen fun! If your child has a costume to wear, it just adds to the adorable factor but it is definitely not a must!
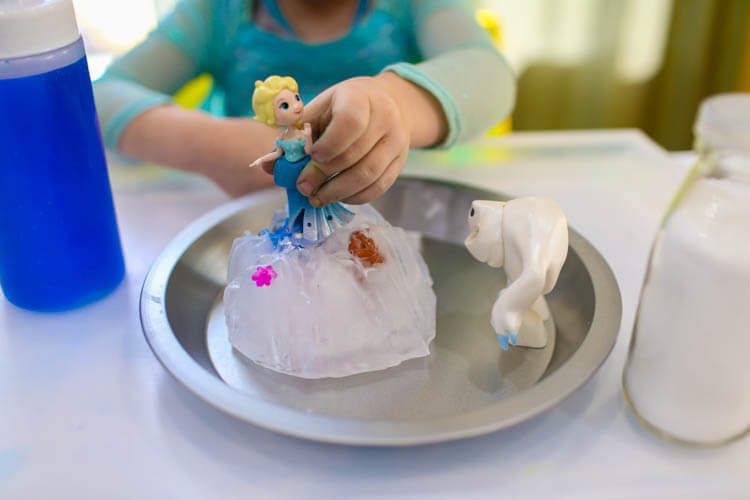
Tell your child that the story of Anna getting frozen by the ice and it is Elsa’s job to get her unfrozen. They have two tools they can use. The blue water and the “snow” or epsom salts. Be prepared for hours of entertainment!
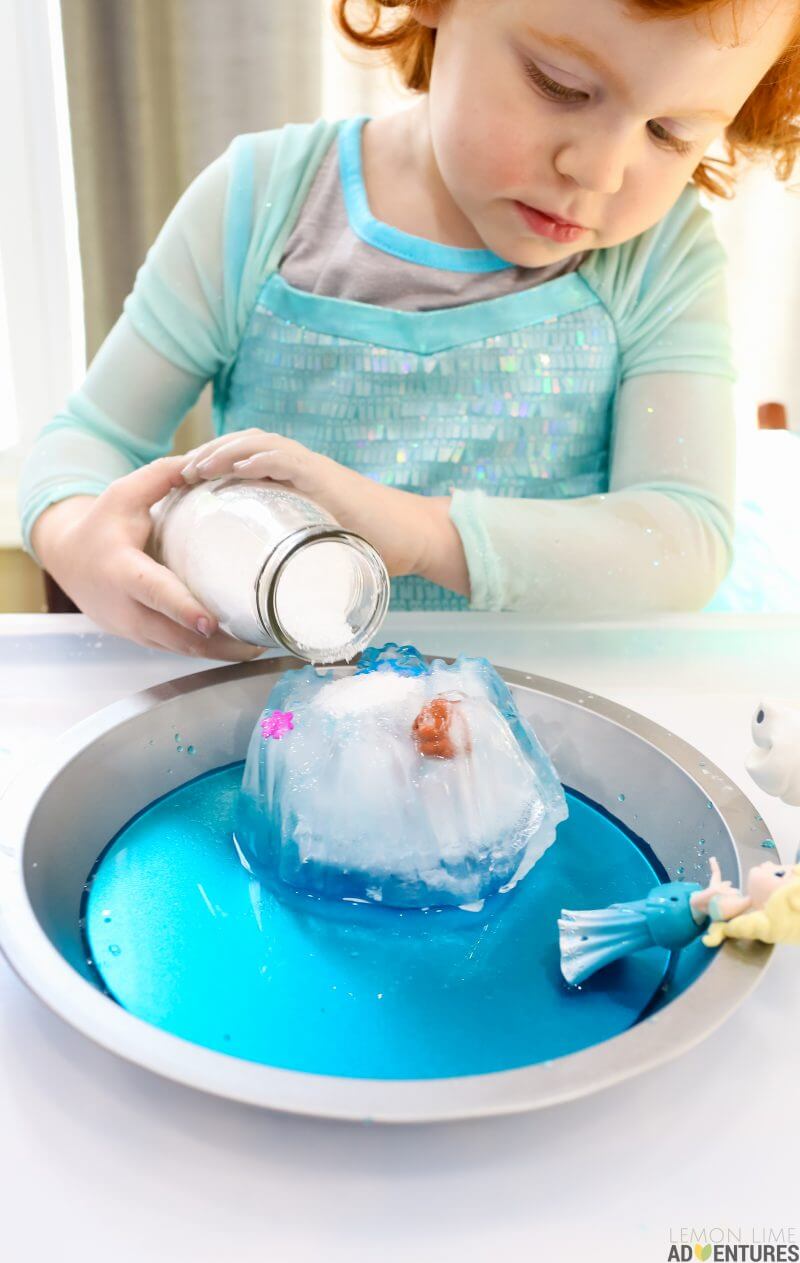
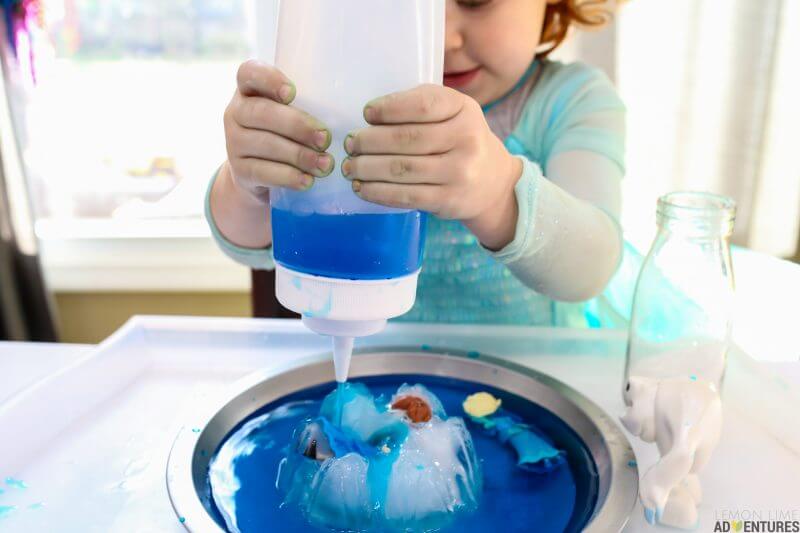
Start with a small amount of salt in just the right places. Secret: there isn’t a “right” place.
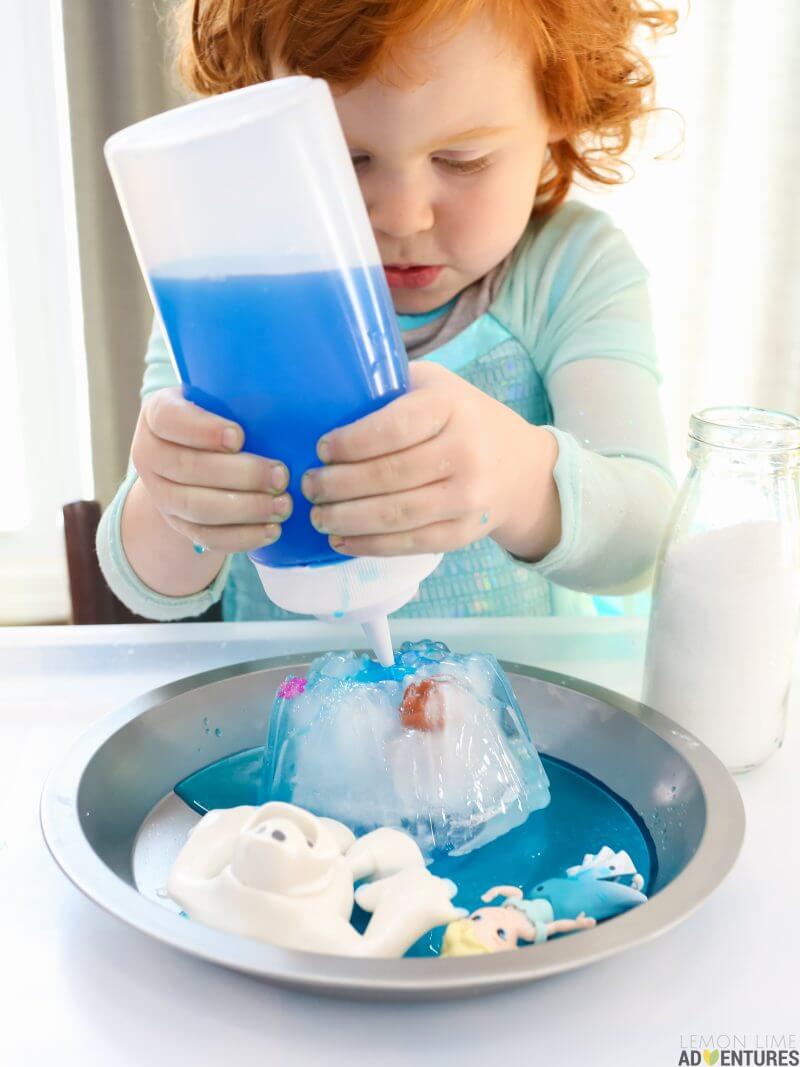
Squeeze the water over the salts and watch the ice begin to melt away. This will need to be done over and over and over again. It definitely takes persistence.
But it sure is fun! Your child will love you forever! Guess what you will love me for? Yep, those
Bounty prints featuring Disney’s Frozen. Its at about this moment that life gets a little messy and you don’t want to have to stop your kiddo to clean up!

At some point everything might turn to an oozey salty mess. If your kiddo doesn’t like to get messy, use a spoon to redistribute the salt. But if your kiddo is like Super B, let them dig right in for the extra sensory input and experience.
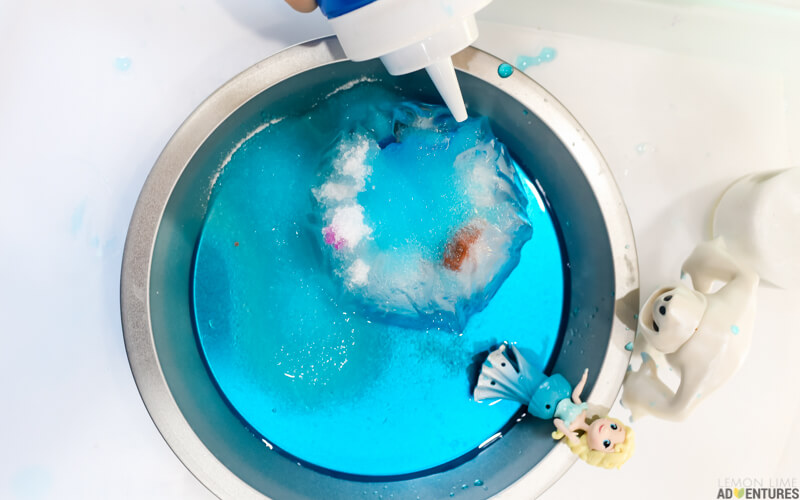
I promise you, the toy will eventually come clear. You just have to keep working at it!!!
The longer your kiddo plays, the more you will want to have those Bounty prints featuring Disney’s Frozen handy. I don’t remember my boys being this messy with their ice excavation, but then again that was over three years ago. They probably were even more messier! 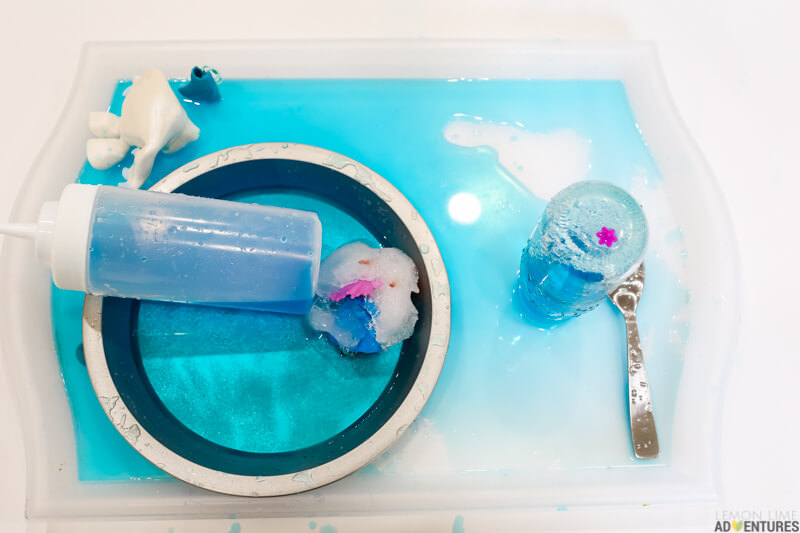
Your little one might actually just walk away for a bit to play with something else if it takes too long to finish the rescue. Often times, we don’t show the true messy side of activities, so I thought it would be fun to show exactly how my three year old left her tray in the middle of the activity. Is that Elsa in the bottle? Oh boy.
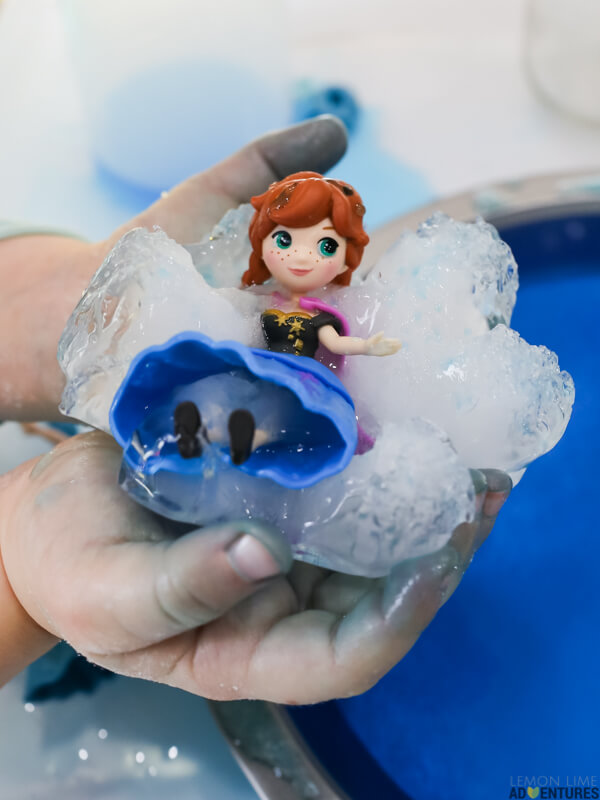
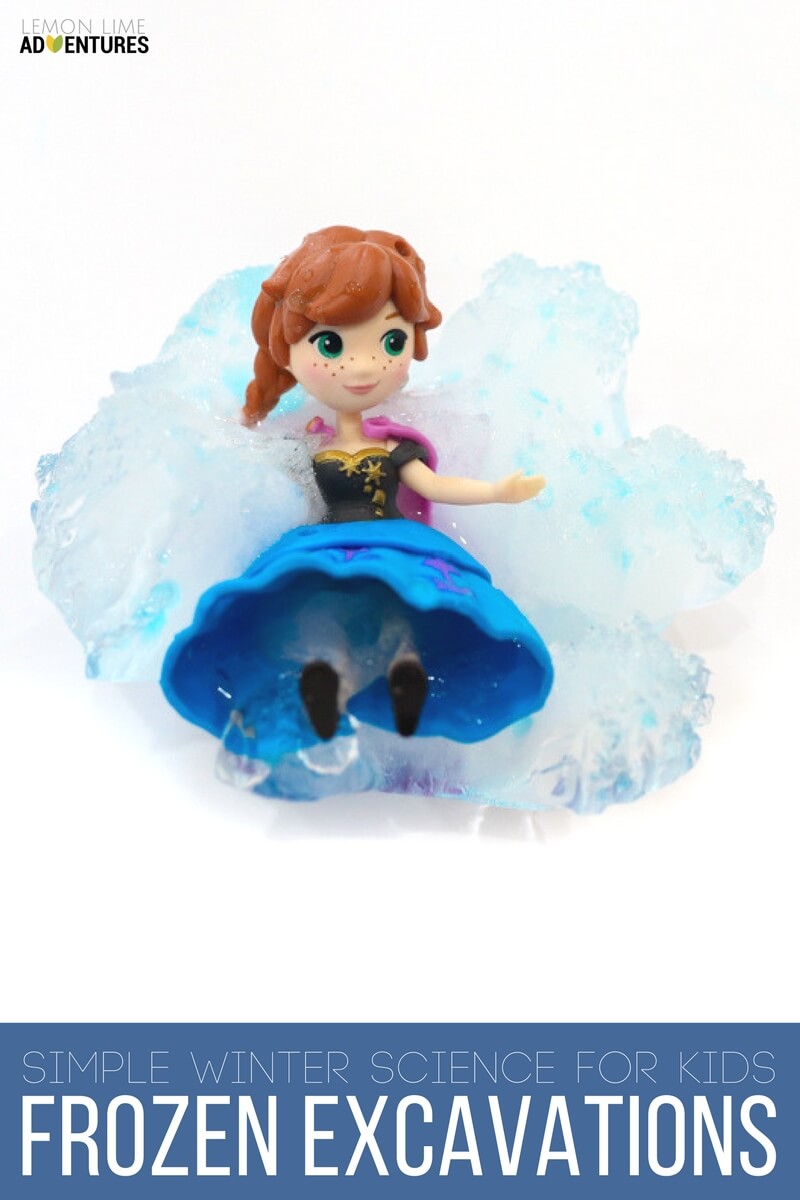
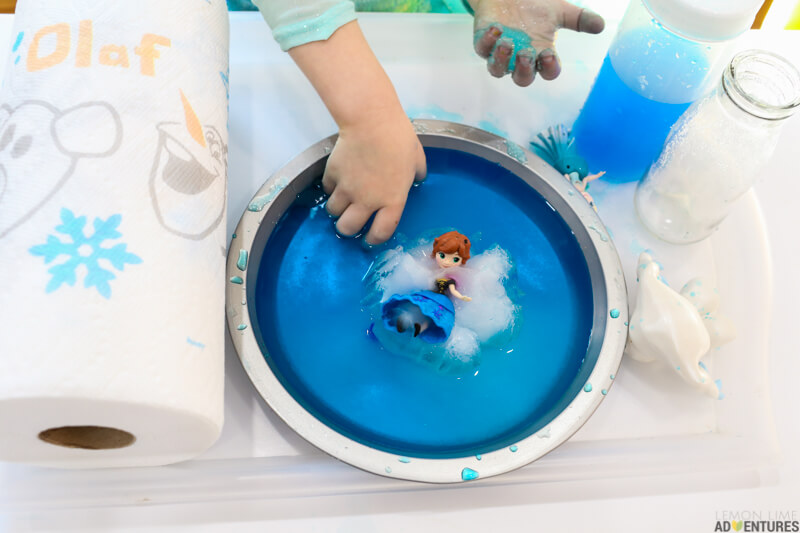
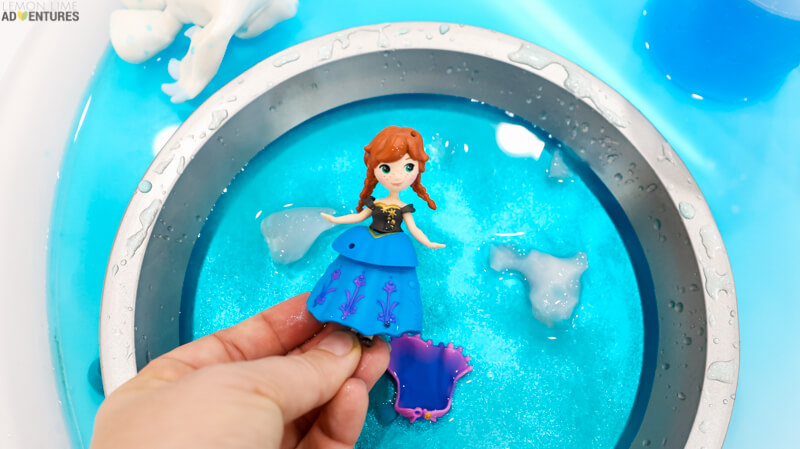
Once you get your little one back on board, all the hard work will start to pay off when Anna starts to peek through the ice and your kiddo can actually feel them getting closer. From my experience, this is about the time my kids get really excited and just can’t wait to rescue their toy.
Pure joy!!! It is so excited to finally get Anna out of the ice so you can play with her once again!
The best part… Anna is left undisturbed and ready to party! She is so happy you worked so hard to rescue her. Just wipe her off with your paper towels and she is ready to add back to the toy chest.
If you are planning this activity as part of a Disney’s Frozen themed party,you can add some fun Bounty paper towels to your set-up. The NEW Bounty prints featuring Disney’s Frozen come in Paper Towel and Quilted Napkins and are a must-have for any Frozen party or craft activity.
Now that we’ve done this simple science experiment, I am even more excited about making more crafts and easy recipes to make our own Disney Frozen themed party (even if it is just with our family). What would you add to your Disney Frozen birthday party plans?
This conversation is sponsored by Bounty, as part of the Quicker Picker Upper Crew but all opinions are my own.
For More Adventures in Messy Play