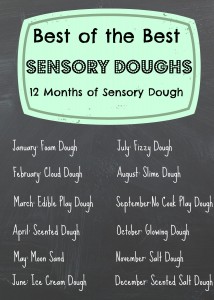
Welcome to 10th edition of 12 Months of Sensory Dough where 12 KBN Bloggers will bring you their special spin on a popular sensory dough. This month’s feature… Glowing Dough! Our hope is to provide a resource where you can find all things Sensory Dough in one place. This month we dug deep to learn the real reasons why Glow Dough glows and we hope you enjoy our journey!
{THIS POST MAY CONTAIN AFFILIATE LINKS TO MATERIALS I RECOMMEND. ANYTHING YOU PURCHASE THROUGH THESE LINKS HELPS SUPPORT LEMON LIME ADVENTURES. THANK YOU IN ADVANCE FOR CHOOSING TO SUPPORT US.}
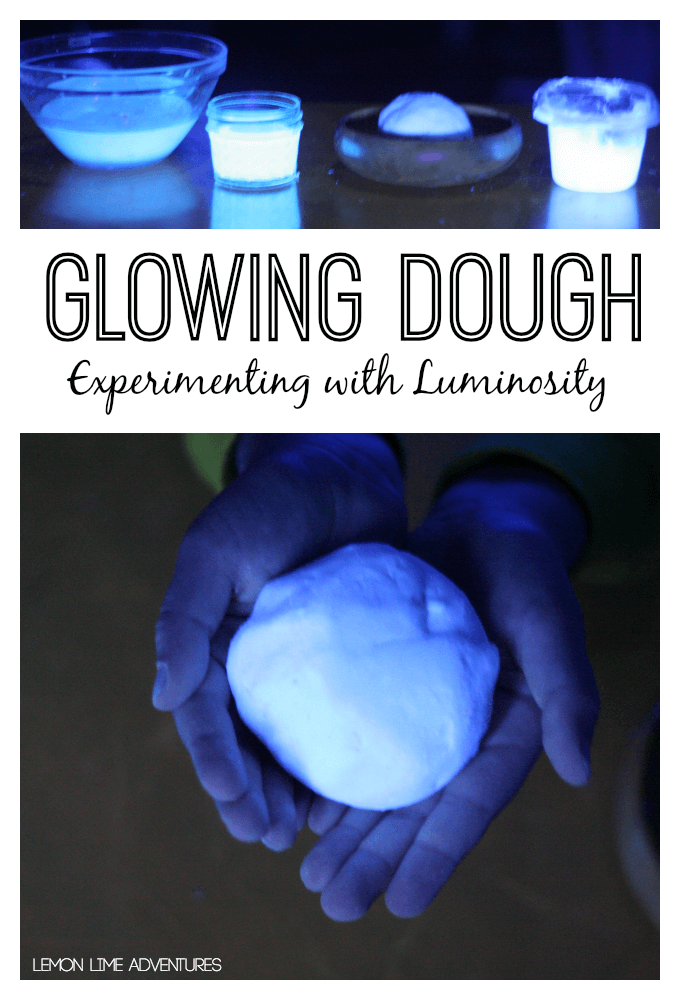
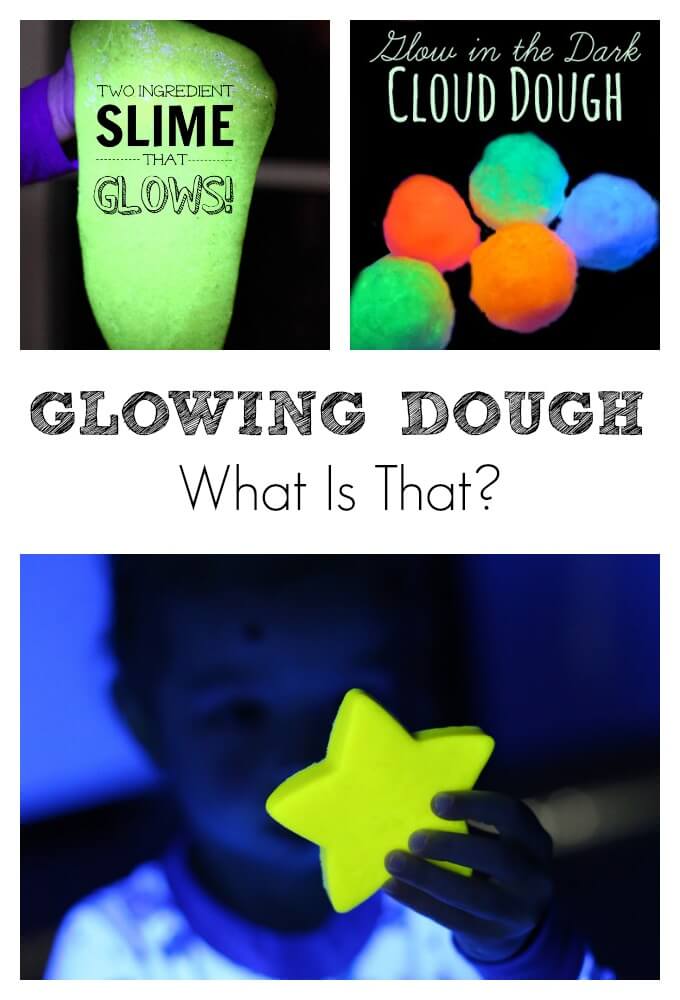
WHAT IS GLOWING DOUGH?
Simply put, GLOWING DOUGH is… any sensory dough recipe that glows (lights up, turns neon, shines).
According to popular recipes and pictures found on Pinterest, you might describe Glowing Dough as:
Neon
Magical
Glowing
The recipes vary from simple to complex, black light required to no black light, and everything in between
As you will read from my co-hosts, there are variations and differing opinions as to what Glowing Dough and how to make it. Let’s find out more about it!
WHAT SHOULD GLOWING DOUGH LOOK LIKE?
According to my good friends at Fun At Home with Kids, Growing a Jeweled Rose, and Danya Banya, Glowing Dough should either glow in a dark room or glow under a black light!
If you click through you will read the ingredients vary, as do the methods to accomplish the glow. But one things is consistant across all the recipes…
The Glow!
So we set out to figure out the best GLOW DOUGH RECIPE and learn the science behind it!
WHAT EXPERIMENT DID WE DO WITH GLOWING DOUGH?
Learning about Glowing Dough
This month’s special dough was a very exciting one for us. We had so much fun learning everything there is to learn about what makes glowing dough glow. In fact that is exactly what we researched! We used this month’s dough to dig deep and find out exactly how glow in the dark materials glow.
First we made a list of what we thought made things glow. What materials, what variables, and what conditions were needed. The boys told me they thought the dough needed to be “charged” and then put in a dark place. That was a pretty great start, but we wanted to learn more.
We were fascinated by what we found. You see, we found out that glowing materials glow due to phosphors. We found this really cool video that explained so much to get us started.
Initially, the boys decided they wanted to test the “persistence” of the luminosity based on the length of “charging time” and the effect of where they tested the doughs (the varying levels of darkness).
Next, we had to find ingredients that glowed. We started by looking at our favorite glowing dough recipes listed above. However, we wanted to know more about what glowed and why. After digging a tad more, we found this awesome list of natural items that glow under a blacklight. Since we had most of these ingredients on hand, we decided to change our experiment a tad and save the persistence experiment for when we had some glow in the dark paint.
Now it was time to make our doughs. We had to get busy!
Making Glowing Doughs
When we made our doughs, we decided to chose 1 ingredient from our favorite glowing playdough recipe, 1 ingredient from this awesome magic mud recipe, and 1 new one that we didn’t see tested anywhere else.
You can click through these links to get an idea of how we made these doughs. I hope to share our recipes later this week, since 2 of them were different than other recipes we have seen.
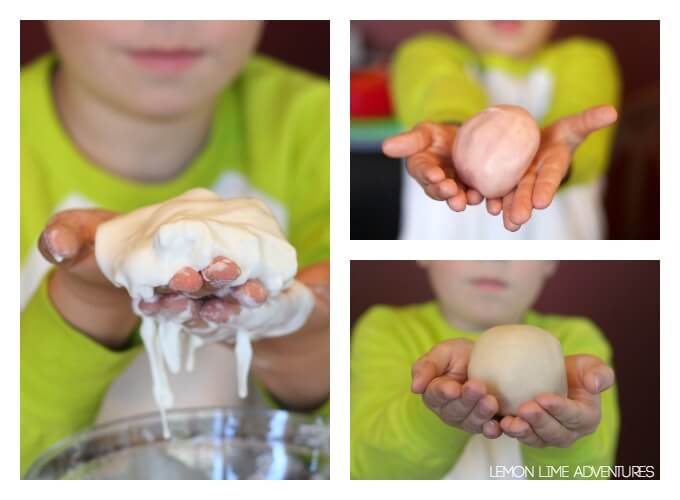
As always, we loved making all of our doughs! We could have played with them all day, but we needed to test which one had the most luminosity when we put them under the black light!
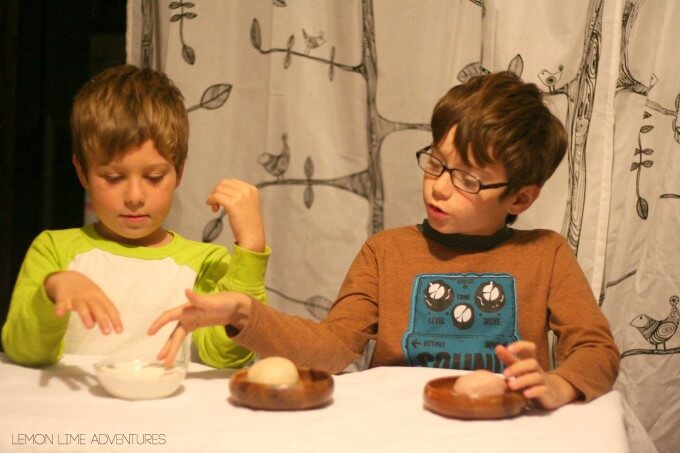
Predicting Luminosity
We set up a nice little station in the basement (the darkest place in our home) and we set to work to predict the dough that would be the most luminous. Not only did the boys predict which would be the brightest, they predicted what color the doughs would turn.
Testing Luminosity
Finally, it was time to test. We turned on the blacklight and were amazed at what we saw! Two of the doughs started to shine. Even more exciting, was the fact that not only did the doughs glow, but the main ingredients as well.
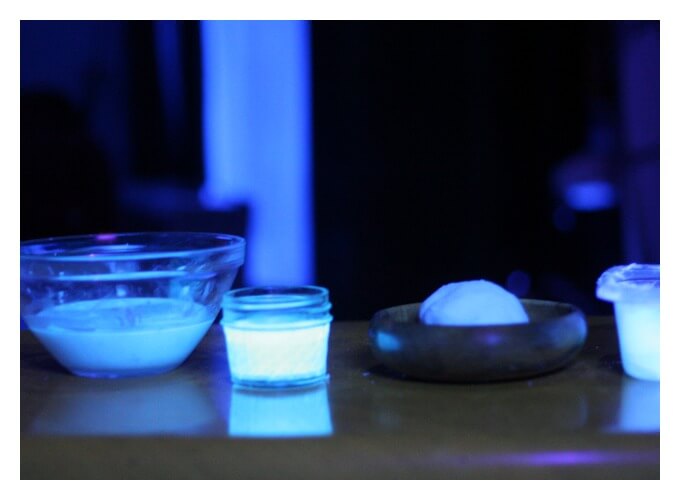

It was really cool! The closer we put the black light to the doughs and their liquids, the brighter it got! There was a clear winner in our testing. Our dough with vitamin crushed into it did not work at all. That happens in science sometimes, doesn’t it.
The key is to figure out what you can learn from your failures in Science.
Playing with Our Science Experiment
Conducting these sensory dough experiments are only half the fun. The boys had a blast playing in with the various doughs. {Maybe as much as I enjoyed trying to take pictures of them}.
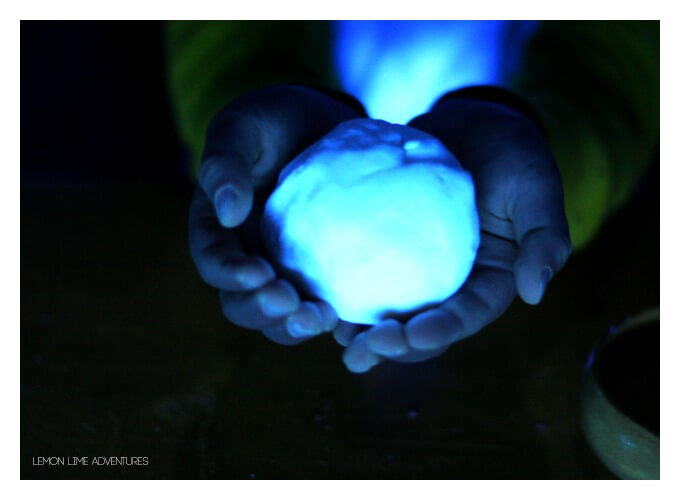
Bones (age 7) loved our special ingredient dough the most for its texture. He rolled it and squeezed it and deemed it as a great “playdough with a bonus glow”.
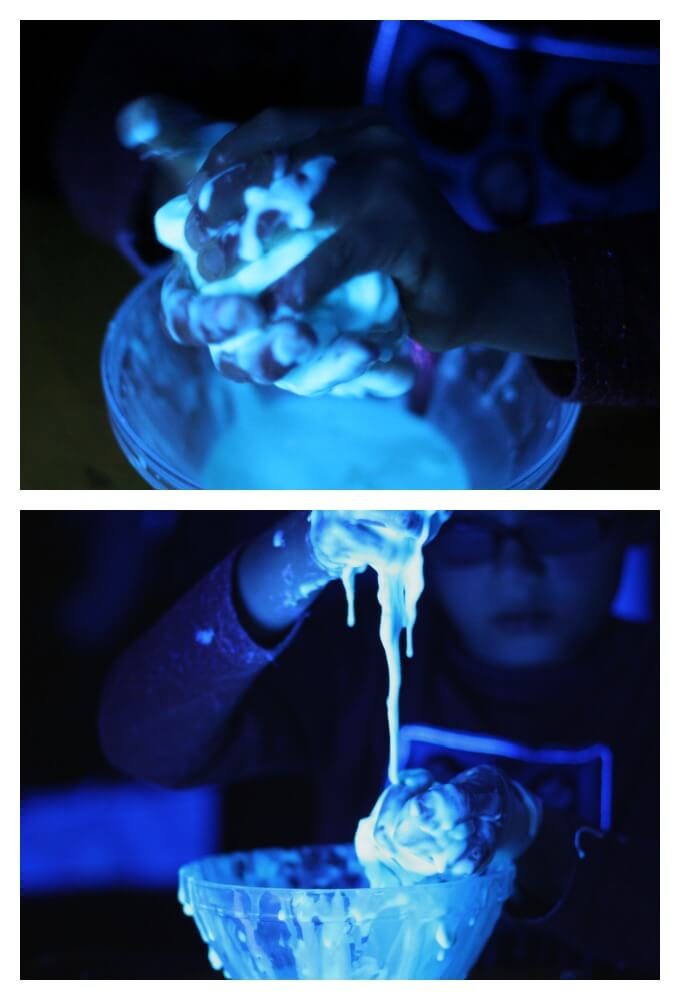
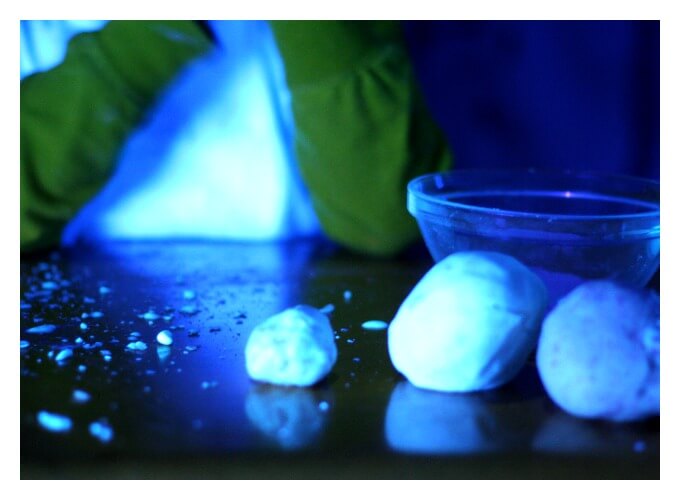
Our oobleck was by far the most popular recipe of the experiment. We worked very hard to get it into a molded ball (and succeeded some) but we weren’t able to get the ball and a photograph at the same time.
Legoman (age 9) spent about an hour squeezing, rolling, and dripping the oobleck. He loved how it glowed as he played with it and he loved how it felt through his fingers.
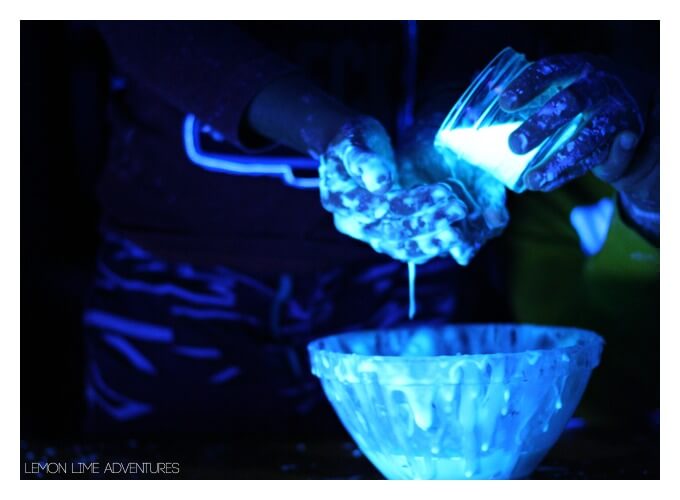 When he was finished, we were curious what would happen if poured the tonic water we used in our oobleck over his hands. The results were beautiful! This has to be one of my favorite images I have taken for the blog in a very long time. What do you think? Pretty cool, huh?
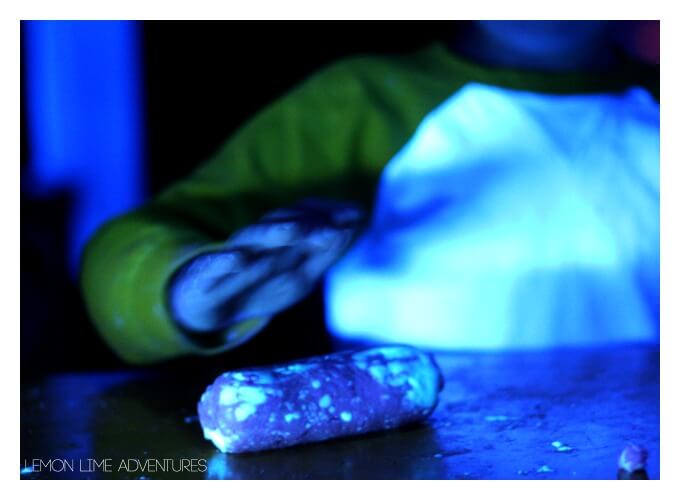
Remember how I told you our vitamin dough didn’t glow? Well, that didn’t stop us from making it glow. We found out that if you rolled it in oobleck splatter, it would make this really cool speckled dough.
Side note: I have talked with one of my good friends, since making this, and she assures me that the vitamin mentioned by Fun at Home with Kids, does in deed work. We are not sure if it is because we used too much, not enough, the wrong brand, or the wrong vitamin. I think this just means we should try again soon!
WERE WE SUCCESSFUL AT MAKING GLOW DOUGH GLOW?
Normally, I tell you to decide… however, this month I am pretty proud that we actually made something that both glows and could be photographed. Actually, I might be more excited about the fact that I got pictures of this.
We really wanted to do a very different experiment and I feel like the boys were 100% successful because they were flexible and willing to try a new experiment when things didn’t go as planned.
I have a feeling we will be testing luminosity for the weeks to come on as many items as we can from list! I also know the boys want to do the experiment where we get to charge our glowing materials! Let the fun begin, right?
NOW FOR THE FUN PART…
Would you call this recipe a success or a fail? Do you have a favorite GLOWING DOUGH recipe or activity that you consider a success or do you have a fail you want to share? We want to see! Link up your posts or post pictures to Facebook, Instagram, Twitter orGoogle+. Tag your pictures with#ilovesensorydough.
Be sure to check out each blogger, as we will each provide a different take on the dough, some of us with have the BEST recipe ever, while others (probably me) will show you our attempts (both failed and successful)
You can read more about each Co-hosts and more about the Series or follow along below:
LEMON LIME ADVENTURE~LOOK! WE’RE LEARNING!~GLITTERING MUFFINS~STILL PLAYING SCHOOL~
LITTLE BINS FOR LITTLE HANDS!~NATURAL BEACH LIVING~THE EYES OF A BOY~POWERFUL MOTHERING~
WILDFLOWER RAMBLINGS!~I HEART CRAFTY THINGS~DELIGHTFUL LEARNING ~THE LIFE OF JENNIFER DAWN
PLEASE READ THE FOLLOWING GUIDELINES BEFORE LINKING UP.
- Share family-friendly posts related to the month’s theme. Feel free to link old or new posts that highlight your favorite recipes for sensory dough. Failures and unsuccessful attempts are welcome.
- We ask that no posts are linked with copy/paste recipes from other sources. If you use a recipe from another source, please link back to the original recipe.
- By linking up, you give permission to share your post and one photograph in future posts and through social media channels.
- Visit 2-3 other posts that others have shared. Discover new ideas and meet new friends!
- If you would like to, please grab the 12 Months of Sensory Dough button for your blog.
The linky will remain open all year. On the 12th of each month, all co-hosts will post a new dough with their spin, highlighting at least one post from the month before and pin each post to the 12 Months of Sensory Dough Board.
HAVE YOU MISSED ALL THE OTHER DOUGHS?

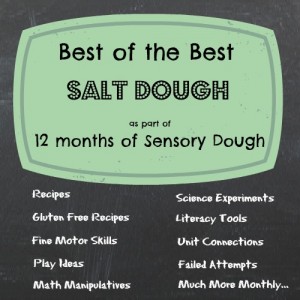
GET READY FOR NEXT MONTH: SALT SOUGH


So much learning going on here… I LOVE IT!! 🙂 Amazing pictures!
Thank you so much!
Great post! And great photos – it’s not easy to photograph the glowing dough 🙂
We learned so much with this activity! Thank you
Love this! Love the science, the pics, everything!
Thank you, Thank you, Thank you!
Pingback: Slime Science | The Science Kiddo
Pingback: A Beginner's Guide to the Tactile Sensory System - Melissa & Doug Blog
Pingback: Glow In The Dark Activities To Rock Your Kids Summer - Double the Batch
Pingback: How to Make Glowing Dough - Lil Moo Creations
Pingback: TOP 10 Various Amazing DIY Projects