Today I had to put on long sleeves and jeans.
The weather is turning chilly.
There are talks of pumpkin spice lattes and whispers of Halloween are in the air.
Knowing how much my kids love this time of year, I decided it was time to pull out the Halloween science experiments.
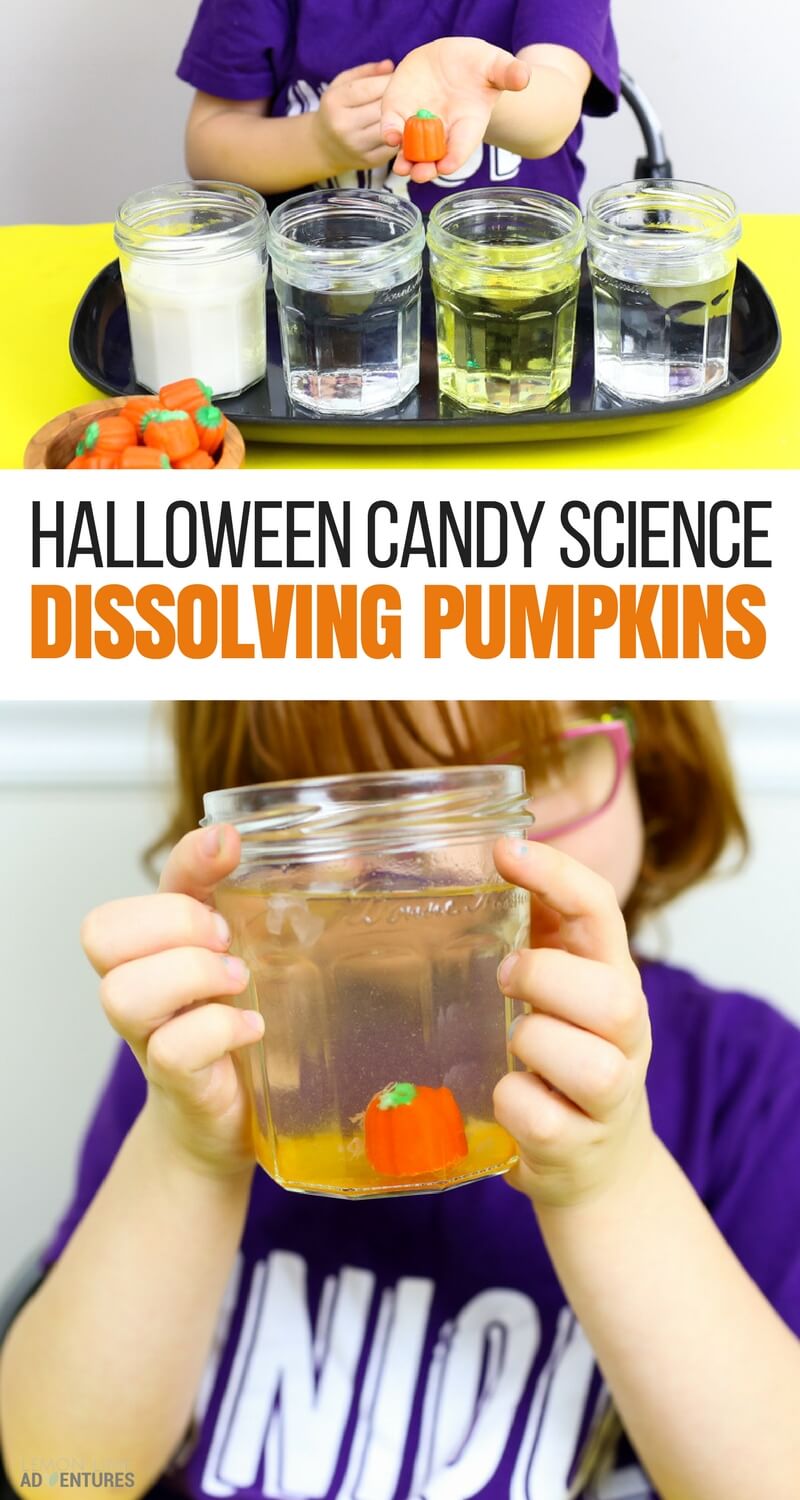
This simple Halloween science experiment seriously took 2 minutes to set up and was super fun. Both boys loved dissolving candy pumpkins and we were all a tad surprised by the results!
* This post may contain affiliate links for your convenience. Click here for my full disclosure.
Dissolving Candy Pumpkins: Super Fun Halloween Science for Kids
What You Need for the Dissolving Pumpkins Halloween Science Experiment
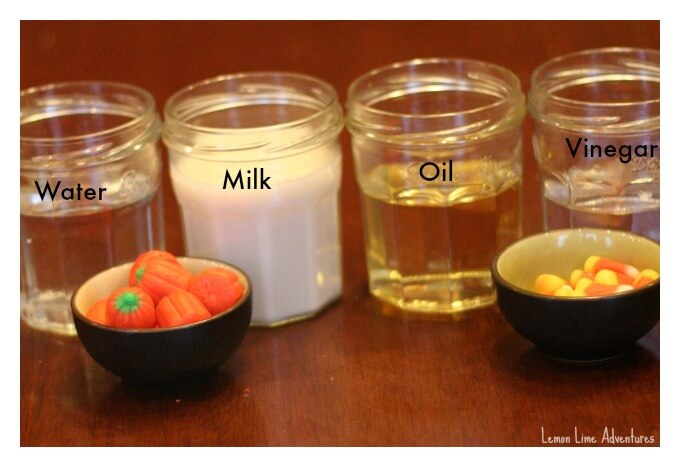
Materials:
Milk
Water
Oil
Vinegar
Candy Pumpkins or Candy Corn (We are trying this next)
Set Up:
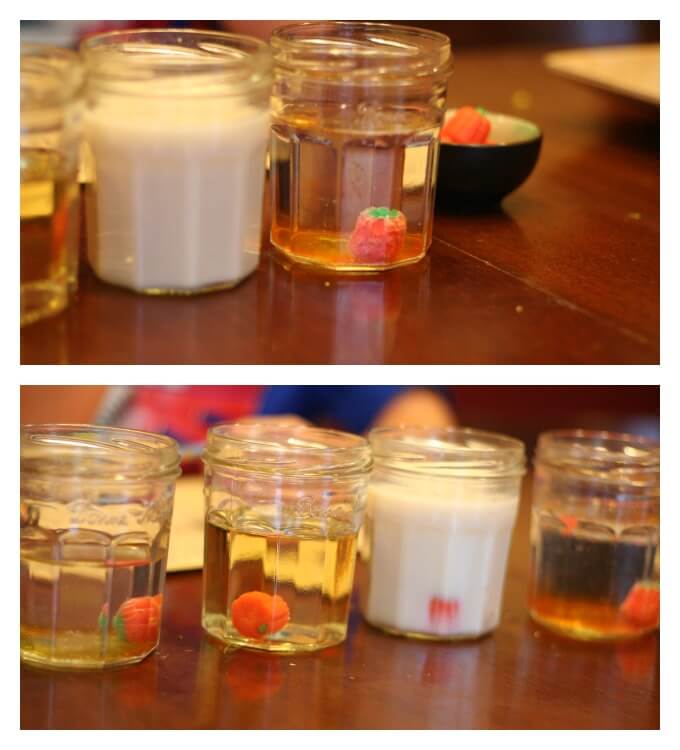
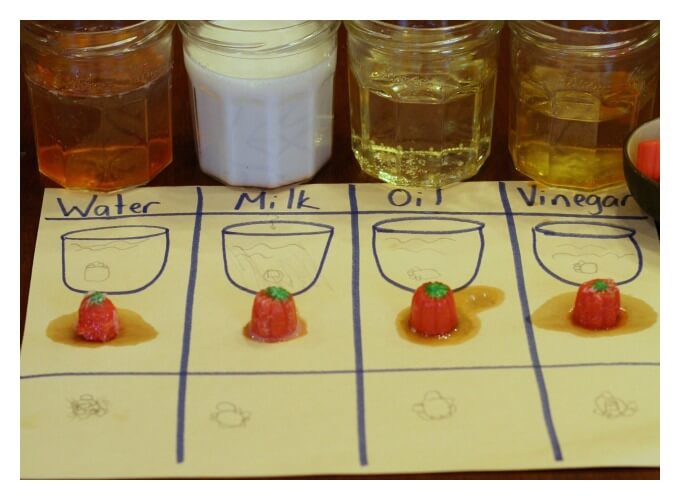
Fill 4 cups up with the same amount of liquid in each glass.
Place the candy pumpkins in a bowl near the glasses for easy access.
How to Do the Dissolving Pumpkins Halloween Science Experiment
We start all of our experiments with Predictions. For this experiment, I had Bones (7) predict what he thought would happen when he put the candy pumpkins into the different liquids.
He was pretty sure they were going to float in all the liquids except the oil. He predicted that the candy would sink in the oil.
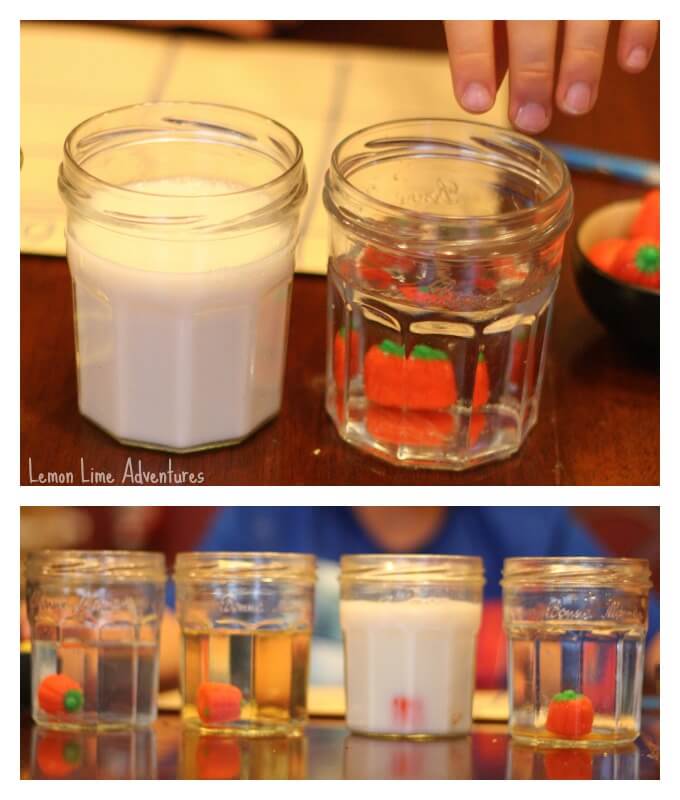
Next, one by one, he placed the candy pumpkins in the liquids and observed them. He was so surprised that they all sank.
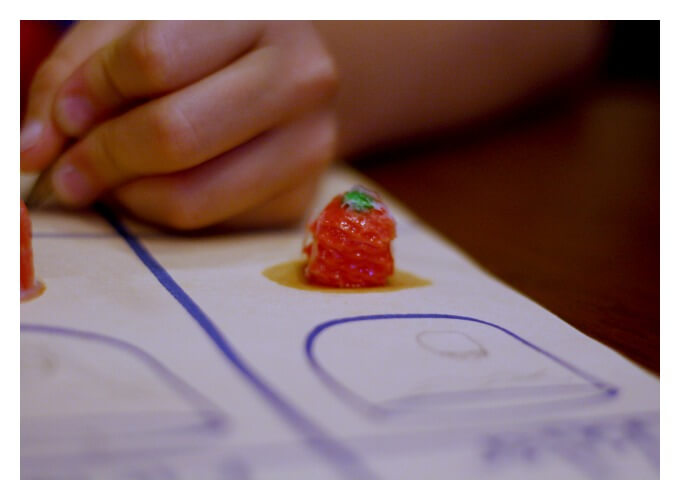
Using the observation form I made for him, he drew his observations and reported his findings to his brother.
See, all scientists record and report their observations!
Making Observations and Noticing Dissolution of the Candy Pumpkins
It didn’t take long before everyone started to notice that changes were taking place. Some of the candies were starting to change shape and break down.
It’s peeling. You know like when I get a sunburn. “
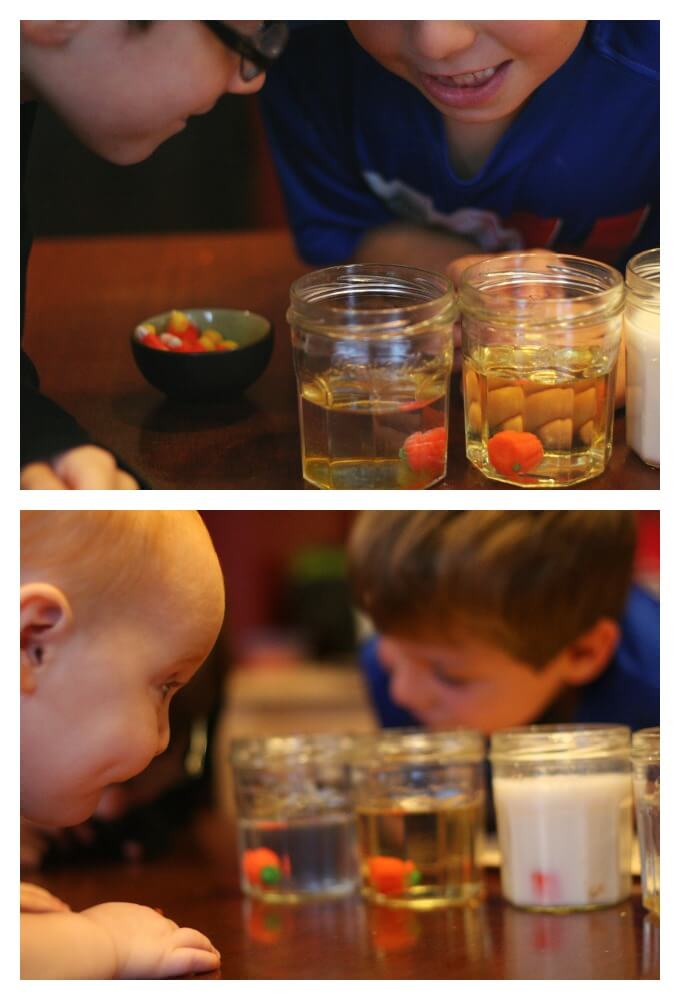
Bones and Legoman were in complete awe.
In fact, the candy in the water glass was changing a lot. The conversations quickly changed to discuss possible reasons why this might be happened, comparing the candies to each other and predicting how long it could take to break down completely.
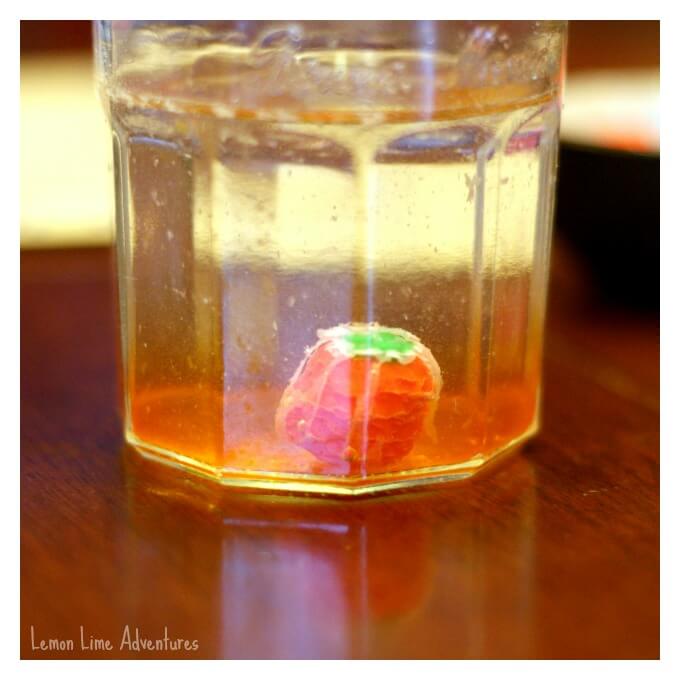
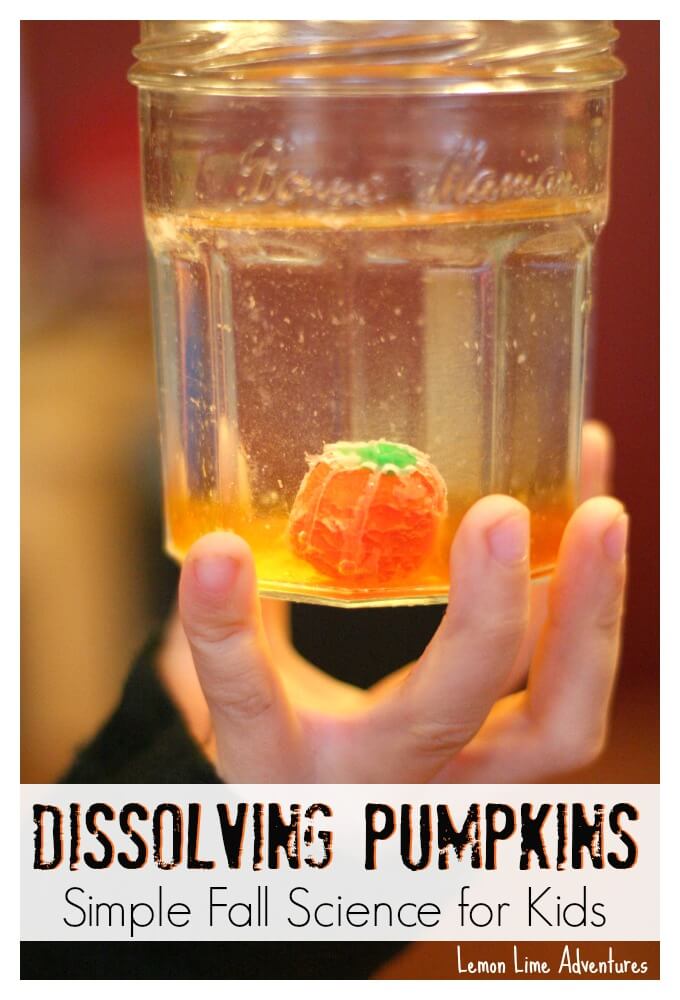
I have to admit… I was shocked. I did not know this was going to happen to the candy and I was just as excited to keep watching the changes as the boys. The boys even started to notice the changes to the liquids as well as the pumpkin itself. 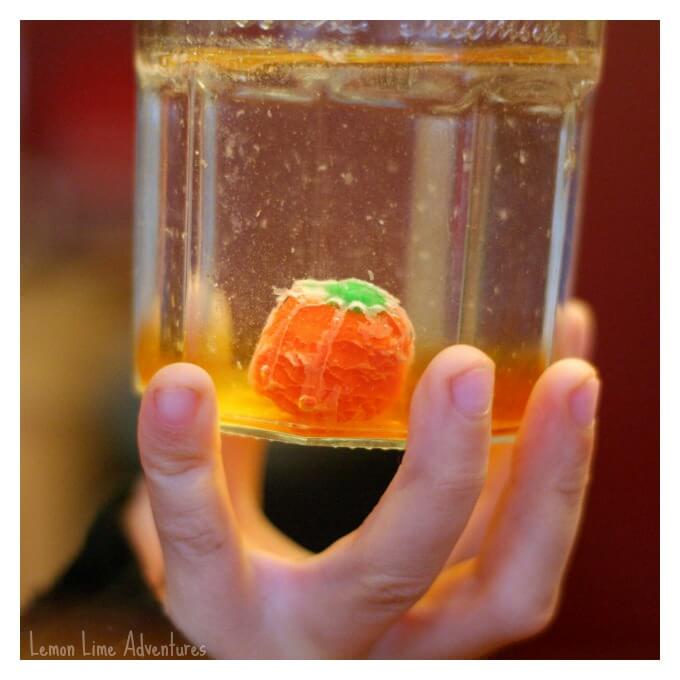 Seriously, look at that candy!!! Did you know it could do that?
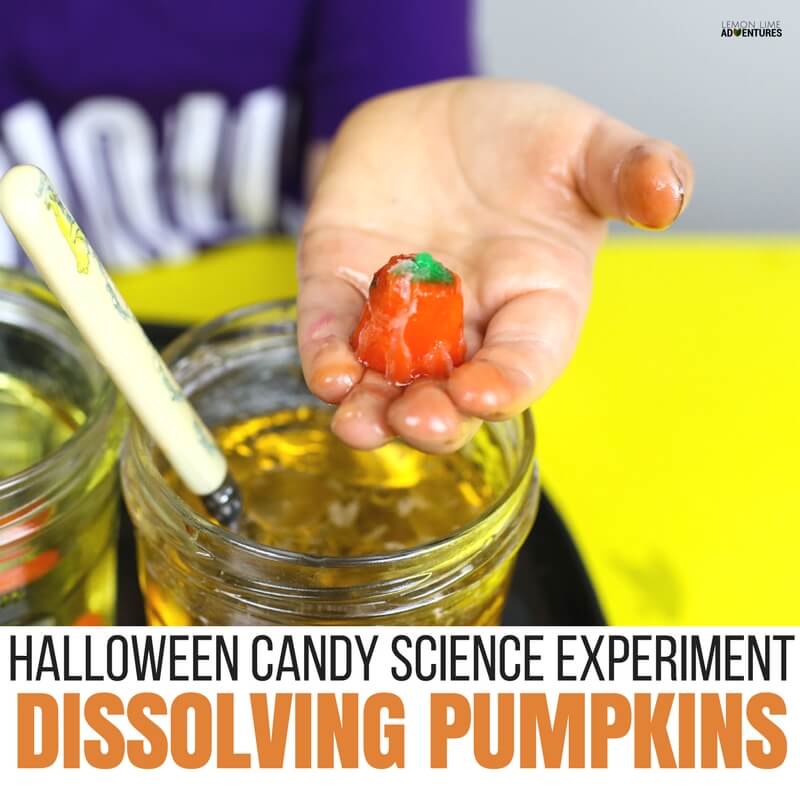
Finally, we took the candy pumpkins out of the liquids to observe the changes. Surprisingly, there were changes to all of the pumpkins but some of them were dramatically more than the others.
Pretty cool, huh?
There are so many variations to this Halloween science experiment. The boys are already talking about changing up the liquids, testing what happens when you shake the containers, changing the temperatures, and changing the candies.
I love how they are always questioning and looking for new ways to try things out.
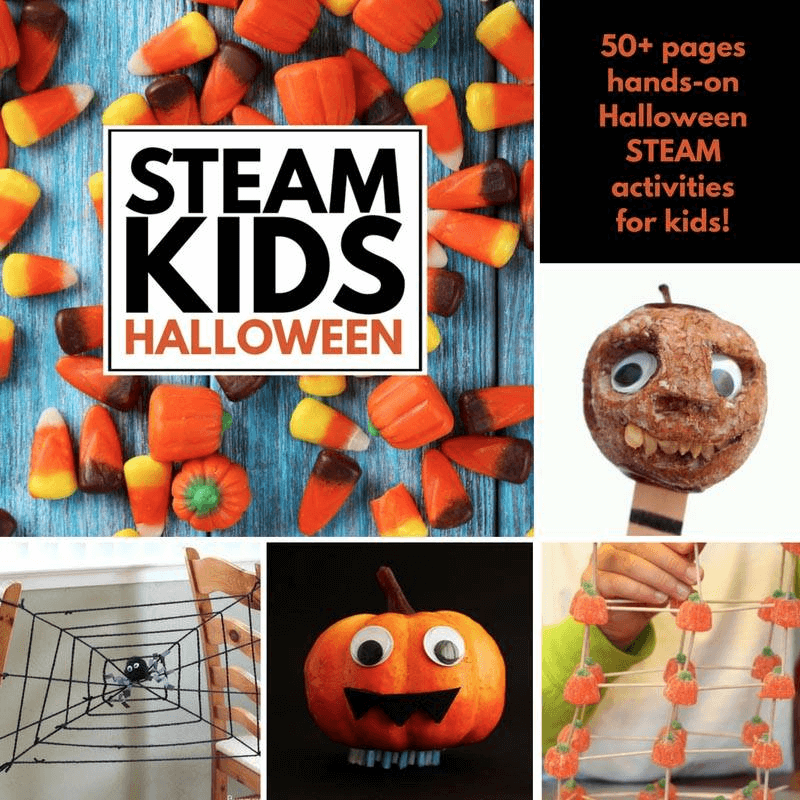
Looking for more STEAM (Science, Technology, Engineering, Arts and Math) projects and inspiration?
Looking for some more STEAM inspiration that use can use right now for the holidays? Instant gratification style? Check out the STEAM Kids Halloween Bundle! You can grab the STEAM Kids Book with 50+ Hands-on STEAM Activities AND STEAM Kids Halloween with fun and spooky STEAM activities to do all October long! It’s packed full of a year’s worth fun learning activities that will wow the boredom right out of your kids!
Don’t forget to pin this post!


I love this idea! Sometimes the simplest activities turn out to be the most interesting for everybody!
How long does this take
Its a cool experiment and all but my son is going to want to know why they changed or how. Why one changed differently compared to the others. Do you have an answer for that?
Great Question! The topic of dissolving sugar in different liquids is quite lengthy of an answer, and frankly not my area of expertise. I did use our friend google, and found this really helpful webpage with a similar experiment. Have you tried the experiment with your son? How did it go?
Pingback: 25 Super Fun Pumpkin Activities for Kids - Playdough To Plato | Playdough To Plato
This is great! Do you have standards that this would go with for school by chance or a chart for writing observations?
Actually, I don’t have standards since we homeschool now. I am sorry. I usually make a chart for observations. If you send me an email, I’d be happy to chat about what you need
We do something similar to this with gummy bears in water. I just take the kids through the scientific method, which is one of our standards. Maybe it’s one of yours too?
I was wondering how long you left the candy pumpkins in the liquid before you pulled them out? I’d like to do this as a lesson but would like a time frame for the leaving them in.
Thanks so much!
Sandy
We did not leave them in long enough to dissolve completely, but you start to see changes immediately. The pictures in this post were after about 30 minutes. We’ll have to try this again next year to see how long it takes to dissolve completely!
What a great idea! We’ve shared it on our Steve Spangler Science Facebook page and Pinterest page.
That is so wonderful! Thank you so much!
Pingback: Science Books about the Seasons for Kids - Stir The Wonder
Pingback: 19 Spooky STEM Projects For Kiddos This Halloween | Fun Time Viral
Pingback: Dissolving Candy Pumpkins | Halloween Science f...
Pingback: Top 10 Halloween STEM Activities – Crafty Kids at Home
Pingback: Dissolving Candy Pumpkins | Halloween Science for Kids | Raised Into Light
Pingback: My Favorite Pumpkin Activities for Early Learners! | From This To That Early Learning
Pingback: Fun With Fall Candy! | The Mailbox Blog
Pingback: What to Do With Leftover Halloween Candy - B-Inspired Mama
I don’t understand all these science experiments on pinterest and blogs that do a science or steam project, but then have no explanation as to why it happens the way it does. What does that teach kids? Sure, I made an explosion inside an apple, but why did it happen? Things like that. If there is no reason given, then what is it that the child is learning?
This experiment was meant to teach our children to come up with variables and test them. This was not a “demonstration” of dissolving or of chemical reactions with sugar and different substances. I think some of the activities you might find have various purposes. Hope this explanation helps.
My son is 7 and we are looking forward to trying this experiement out! I think it depends on his level of curiosity as to how in depth we get into the ‘why did this happen’. I love that this is such a good basic starting point to open up discussion and creates an opportunity to go into those deeper topics. Overall, I think it just depends on the age of your child how you use this experiment.
Pingback: Fall activity calendar for preschoolers and toddlers - Tales of Beauty for Ashes
Pingback: Week Twenty-Two: Candy Science | STEM in Libraries
Pingback: How to Use Extra Halloween Candy
Pingback: 19 Spooky STEM Projects For Kiddos This Halloween | Viral Rumors
Pingback: See Ya Sugar! Clever Ways to Ditch the Candy | Free In L.A.
Pingback: 18 Thanksgiving Science Ideas | Sassafras Science
Pingback: 19 Spooky STEM Projects For Kiddos This Halloween | Viral Melody
Pingback: Baking Soda Science Activities Fizzy Science Experiments
Pingback: 15 Must Try Fall STEM Projects for Kids
Pingback: 12 Candy Experiments for Kids
Pingback: See Ya Sugar! 11 Ways to Use Leftover Halloween Treats
Pingback: 11 Ways to Use Leftover Halloween Treats - Telecom World News
Pingback: 19 Spooky STEM Projects For Kiddos This Halloween | Doggy Viral
Pingback: 19 Spooky STEM Projects For Kiddos This Halloween – Para-SciFi
Pingback: How To Create A Fun Pumpkin Unit Study
Pingback: 30 Halloween Activities for the Classroom - Proud to be Primary
I have two 2.5 year olds.. debating on if this is too advanced for them. Please let me know your thoughts!