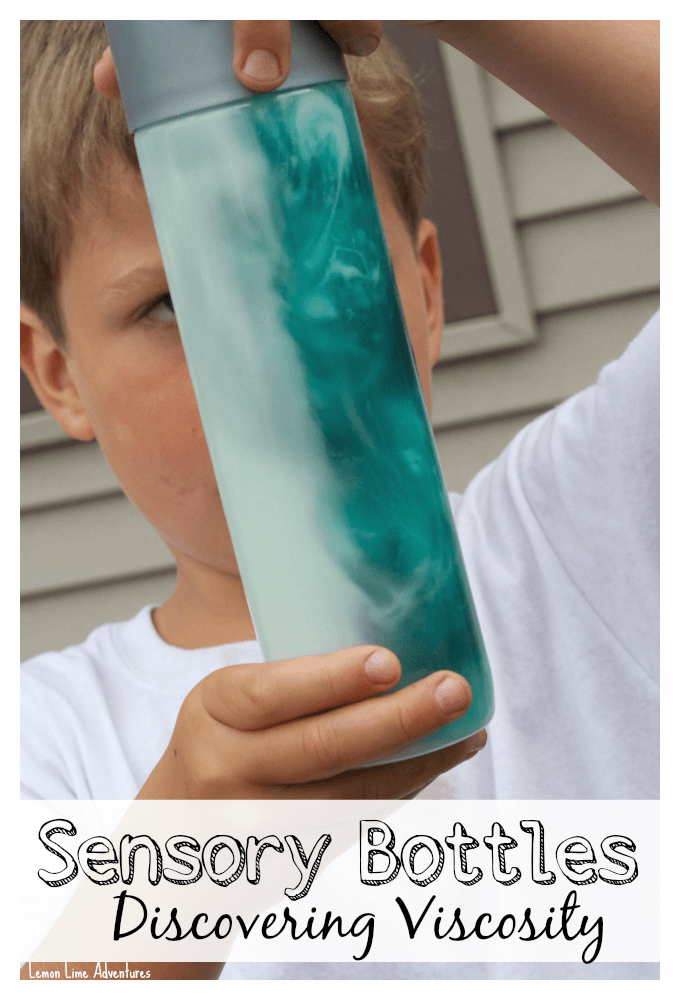
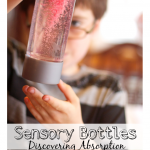
Do you love sensory bottles as much as we do? Around here, we love sensory bottles for all ages. In fact, we love them so much, we have a whole series surrounding this subject. Today for Saturday Science, I’ve decided to mix the two… sensory and science. Today’s sensory bottles demonstrate a fun way of experimenting with viscosity.
{THIS POST MAY CONTAIN AFFILIATE LINKS TO MATERIALS I RECOMMEND. ANYTHING YOU PURCHASE THROUGH THESE LINKS HELPS SUPPORT LEMON LIME ADVENTURES. THANK YOU IN ADVANCE FOR CHOOSING TO SUPPORT US.}
Sensory bottles are a great tool for babies, toddlers, and children of all ages. They can be used for scientific discovery, language development, fine motor, and proprioceptive input. They can address a variety of subject area content and they can are just amazingly fun! You can read more about the benefits of sensory bottles and the basics of what they are in Part One of the series… The What, How and Why.
SENSORY BOTTLES FOR EXPERIMENTING WITH VISCOSITY
WHAT YOU NEED:
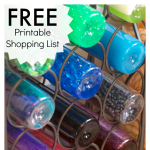
Plastic Bottles (We love these beautiful BPA Free bottles)
A Variety of Materials That Have Various Viscosity (click here for a FULL LIST of MATERIALS
Baby Oil
Hair Gel
Dish Soap
Water
Optional Materials:
Small Materials to Move through the Liquids (we used marbles and beads)
Super Glue
Food Coloring (to make the pretty colors)
Exploring Viscosity

Instead of using thick, slow, or sticky… I like to present children with scientific vocabulary. We have explored the meaning of viscous before. However, with repeated exposure they were able to understand that viscosity is a way to describe a liquids movement against gravity (it’s thickness). In this case it was the ability for items to move through the liquid and the rate at which it moved when they turned, shook, and manipulated the sensory bottles.
While I know we could have done a lesson on density and mixing liquids, I decided that we would focus on viscosity and the flow of the liquids. I wanted the boys to pay attention to the movement of the liquids and the movement of objects in them. That is not to say that they did not mention how the liquids were mixing, repelling, or separating over time. In fact, this is something we came back to another day and looked at more closely.
Testing Viscosity with Various Liquids
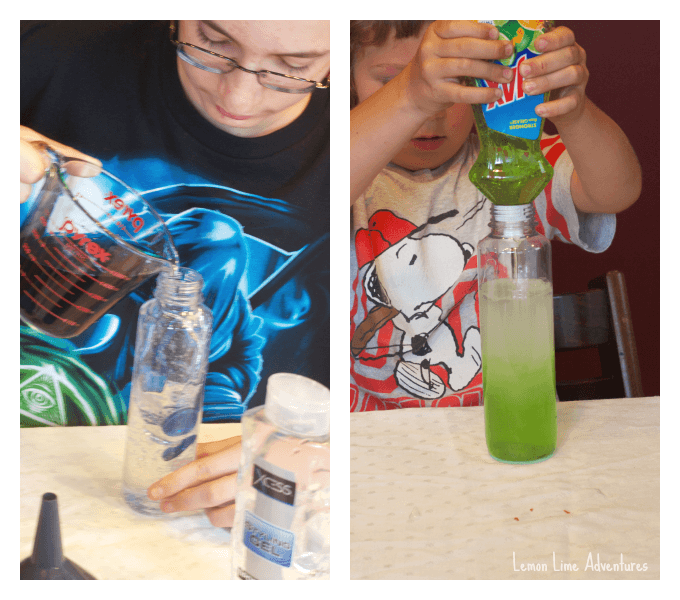
 To make your bottles for testing viscosity, you use the same method for each of them. Encourage children to observe each liquid separately before adding in any of the other items. You can encourage scientific behaviors by taking it slow and having conversations about what they are observing. We had a lot of fun making so many variations. The only reason we didn’t make more, was because we ran out of bottles.
We started with our favorite bottles and used a funnel to add 1 liquid to the bottle. If we added water, we colored it with food coloring before we added it to the bottle. After exploring the mixture of the liquids and the viscosity. We added in some small items such as beads and marbles. You can hot glue or super glue your jars shut if you are concerned about a child opening them.
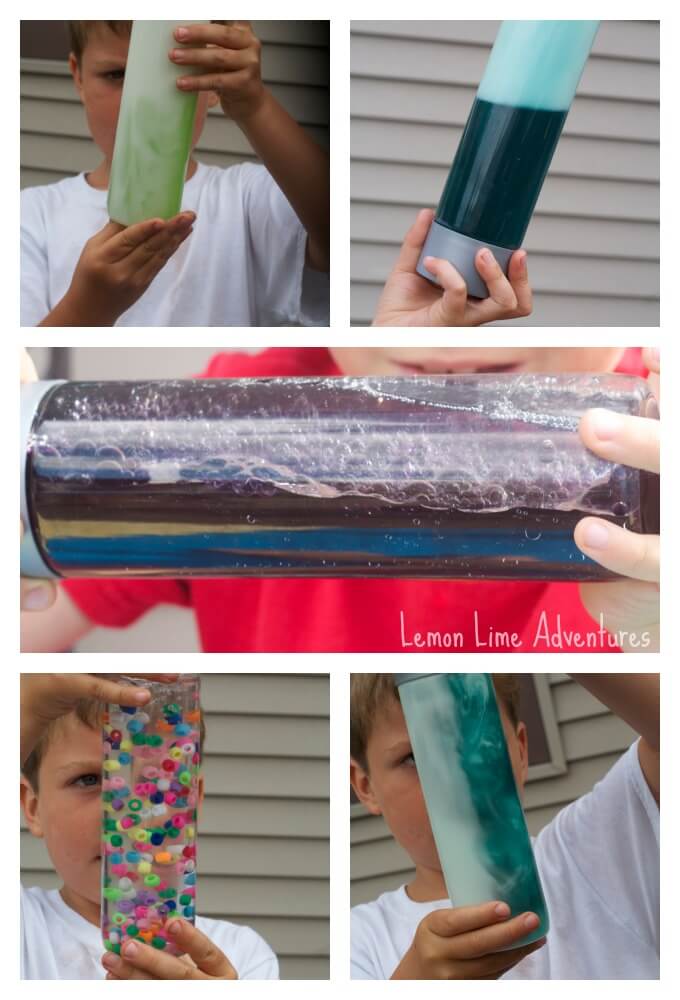
Here are the bottles we made and explored.
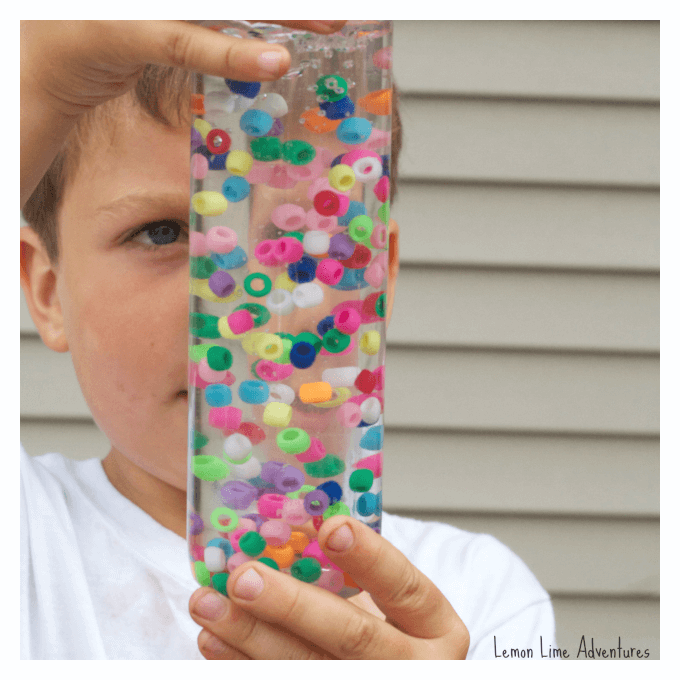
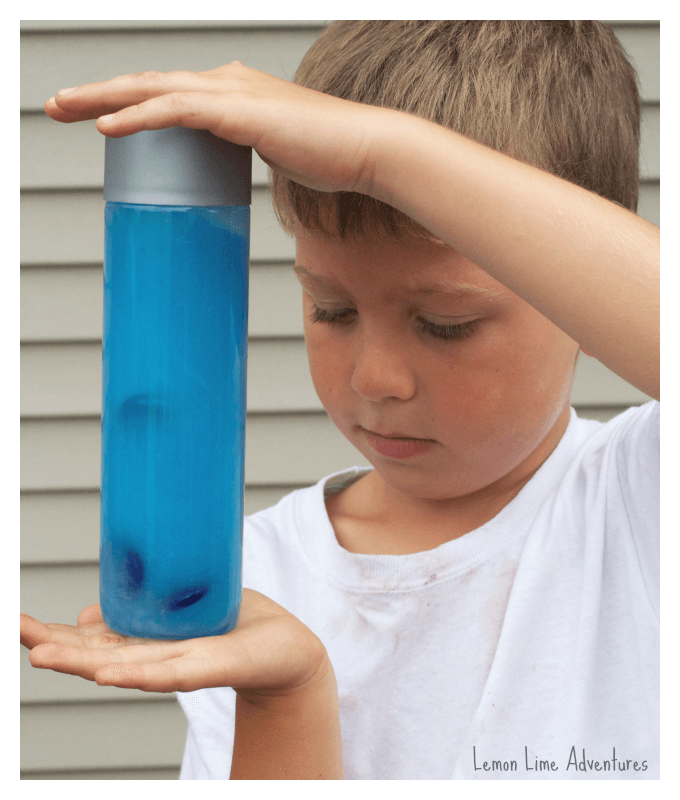
Water
 Although this one was one of the simplest jars, it was one of our favorites. It was so cool to the beads move through the water and get “caught” in the air bubbles. I would love to do a whole series of items of different densities to show how they react in water. But we will save that for another day.
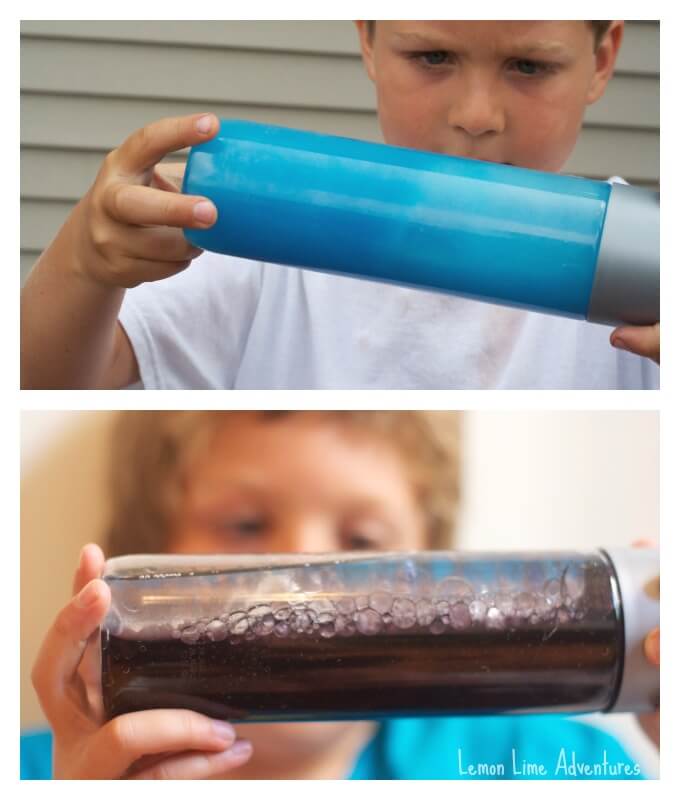
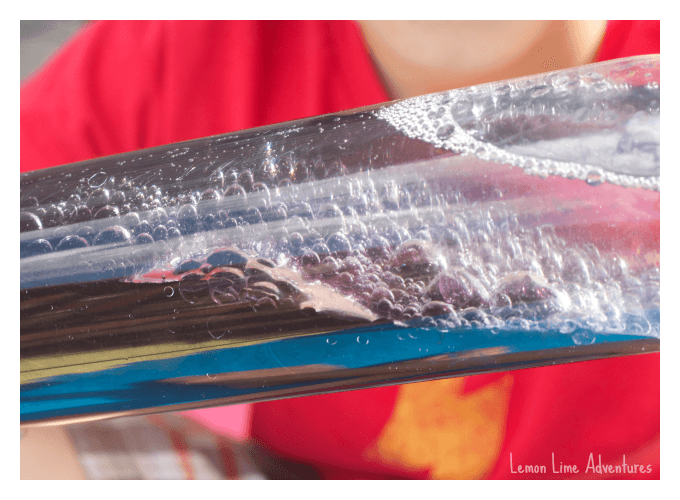
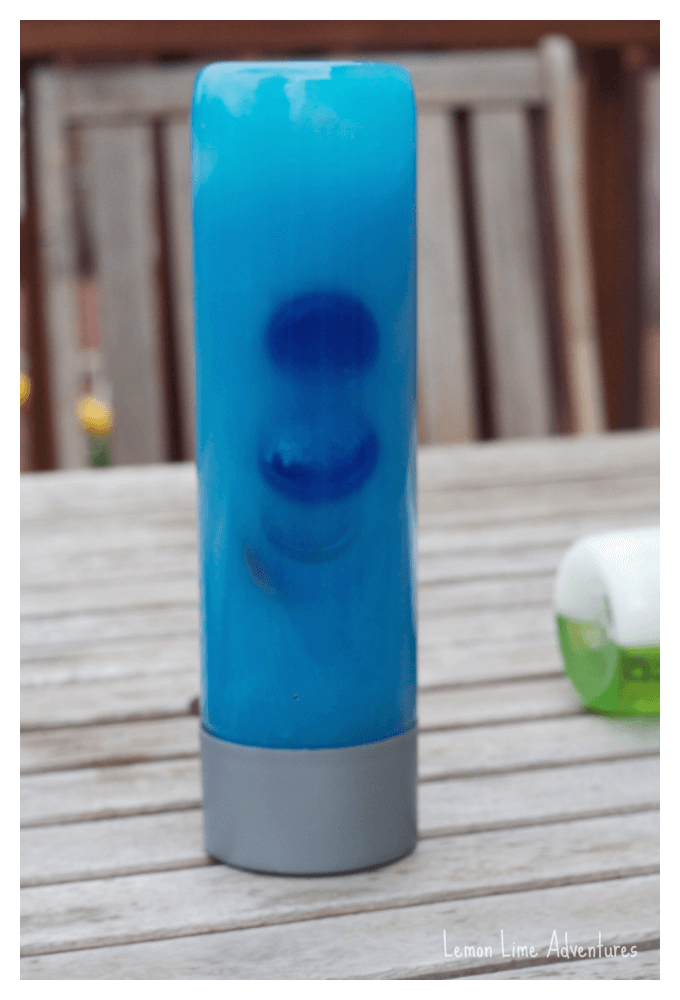
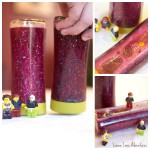
Water + Oil
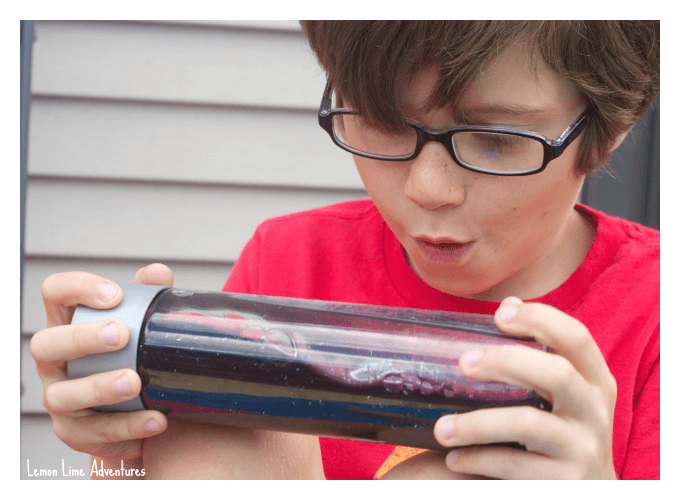
Legoman (age 9) has named this one our “galaxy jar” because it looks like the night sky with stars glittering. Surprisingly, there is no glitter in the jar at all. This jar is one of the easiest jars to see the movement of the liquid. Many people call this one an ocean in a bottle, and you can see why. You can see the waves as you move the jar slowly back and forth.
Oil + Dish Soap
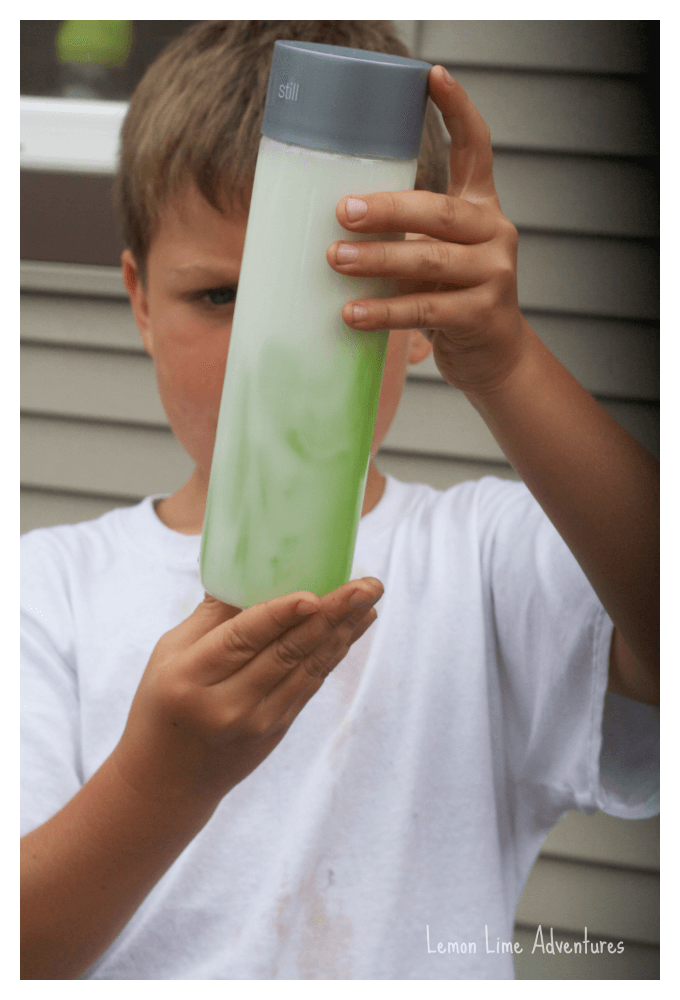
Bones (age 7) loved mixing the oil and soap together (about equal parts). He noticed how the viscosity changed once he added the soap to the oil.
Oil + Hair Gel
Sometimes science experiments are a fail and you can learn from them. We thought it would be really cool to add hair gel to a sensory bottle and see how marbles moved in them. Guess what? They DON’T! Oops! So we added some water to make it more viscous, but we had WAY TOO MUCH hair gel. No matter how much we shook, turned and moved the bottles we could barely move the marbles. That didn’t stop the boys from loving this sensory bottle and still exploring it.
Oil + Hair Gel + Dish Soap

Okay, I will admit, by this point we went a tad crazy. I was letting the boys lead the investigations and they wanted to see what happened when they added all the liquids together. The result was pretty cool, if I say so myself.
More Viscosity Experiments and Sensory Bottles
There are so many possibilities when teaching about absorption. You can use sensory bottles as a way to preserve the experiment and to provide proprioceptive input through the shaking or simply do the experiment separate.
Liquid Experiment with Viscosity | Lemon Lime Adventures
Experimenting with Cloud Dough | Lemon Lime Adventures
Little Blast Experiment withViscosity | Toddler Approved
Kitchen Science for Kids | No Time for Flashcards
What would you add to your sensory bottles for experimenting with absorption? I would love to know! Leave me a comment or stop my Facebook and tell me! Also, don’t forget to connect with me on Facebook, Twitter, Google+, Pinterest, Instagram or subscribe by email so you don’t miss what comes next in the SENSORY BOTTLES series!
ARE YOU READY FOR MORE SCIENCE FUN?
TIME FOR SATURDAY SCIENCE BLOG HOP!
VISIT THESE GREAT BLOGGERS FOR MORE FUN SATURDAY SCIENCE EXPERIMENTS TOO!
Dollar Store Science For Preschoolers: Observing And Examining from Little Bins For Little Hands
Follow Science Experiments for Kids on Pinterest.
Love how they all turned out, especially that last one!
I’ve got a bit of hair gel left from a sensory bag we made, wonder what we can do with it… You got my brain going now!
Can’t wait to see what you come up with! So glad you liked them!
What were the measurements in the last one and where did the color come from the dish soap or the gel?
The boys were playing around with the measurements. It was about half and half. The soap was where the color came from, Happy investigating!
I’m using baby oil. I need it thicker. What can I add to slow the items flow thru the oil?