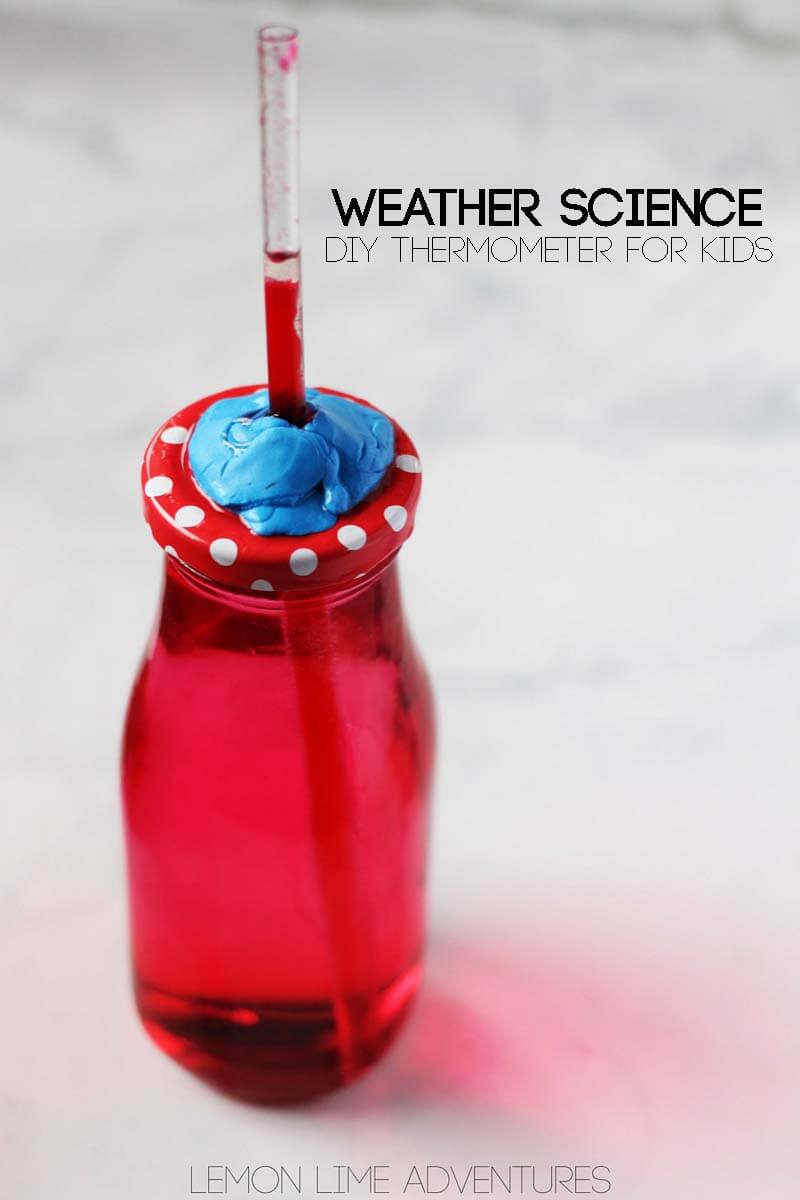
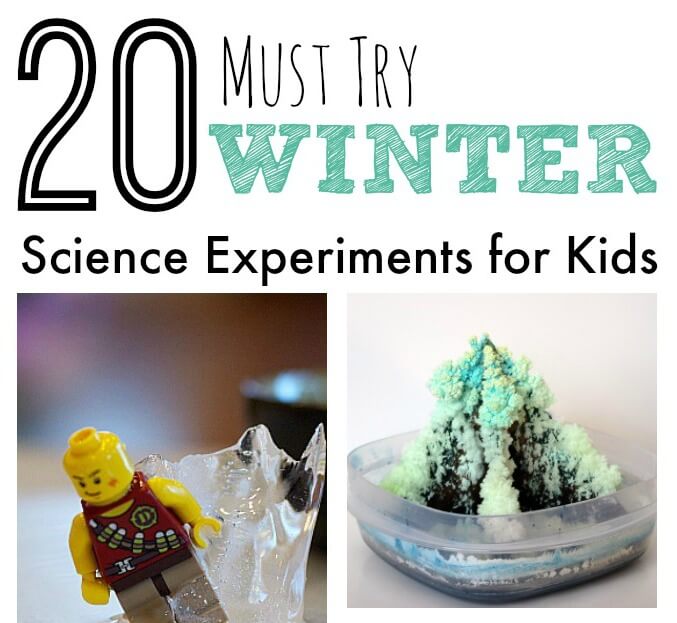
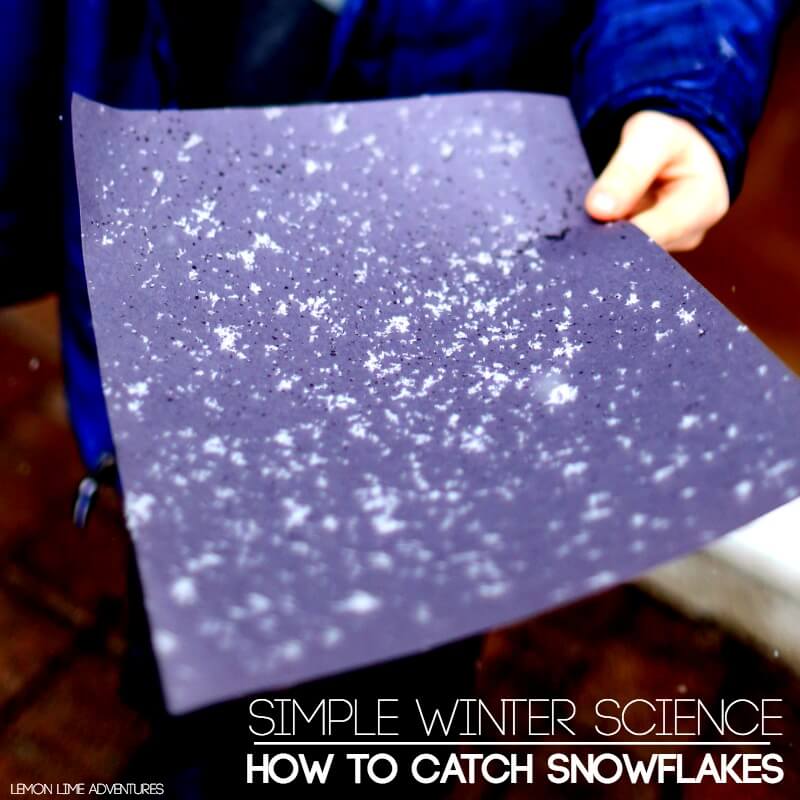
Weather Science is a fun but over-looked way to naturally engage children in science. While our Weather Science: How to Catch Snowflakes activity is great for the winter months, this Weather Science: DIY Thermometer for Kids can be attempted all year round!
* This post may contain affiliate links for your convenience. Click here for my full disclosure.
I’m a big fan of science experiments that make use of materials you already have lying around the house, or can be done with items easily purchased on a typical grocery run or dollar store shop! Teaching kids about science should not be expensive or daunting – it should be fun, frugal, and easy so that you’re more likely to make them part of your routine!
This DIY Thermometer for kids is made with items you probably have lying around your medicine cabinet and kitchen already – making it the perfect science experiment to break the ice!
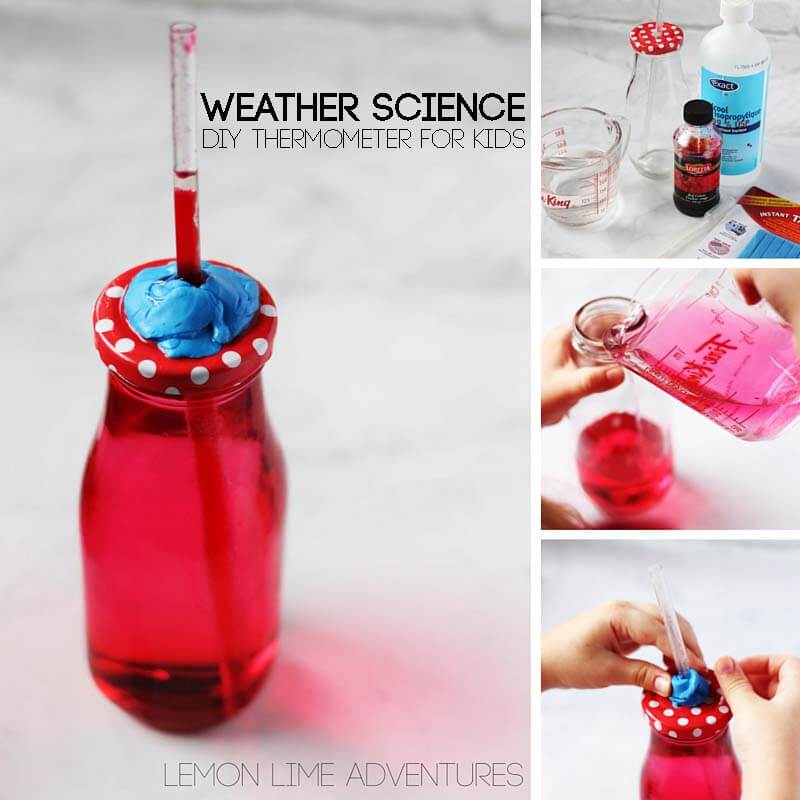
How To Make a DIY Thermometer for Kids
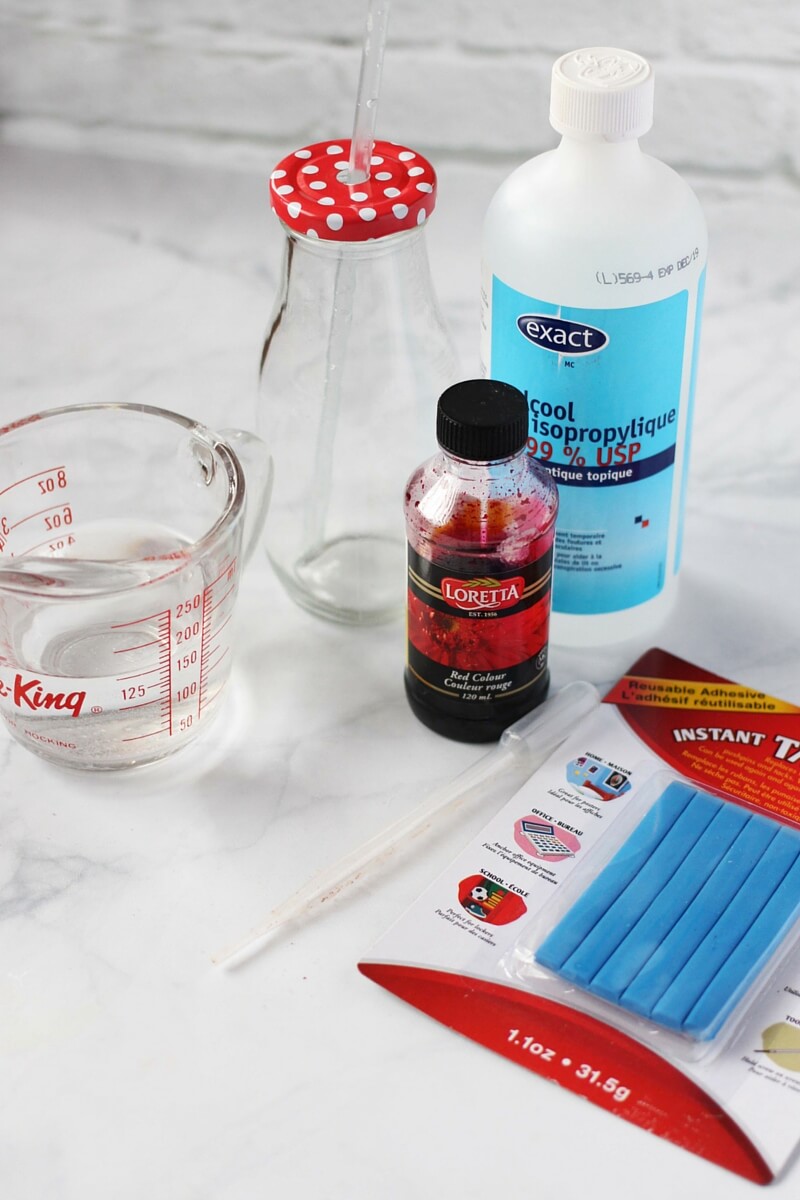
First, gather your materials:
- Rubbing alcohol, optional
- Water
- Glass bottle – can use a recycled bottle and it doesn’t need to have it’s own lid
- Clear straw
- Measuring cup
- Sticky tack
- Red food dye, optional
- Cooking oil, any
I love how flexible this list of materials is! The rubbing alcohol is optional because you can just use water in your DIY Thermometer – but the rubbing alcohol helps the liquid respond faster to temperature changes. The red food dye is optional for helping see the temperature changes more clearly (especially with that added cooking oil on top) but you can leave your water plain, or add a different colour.
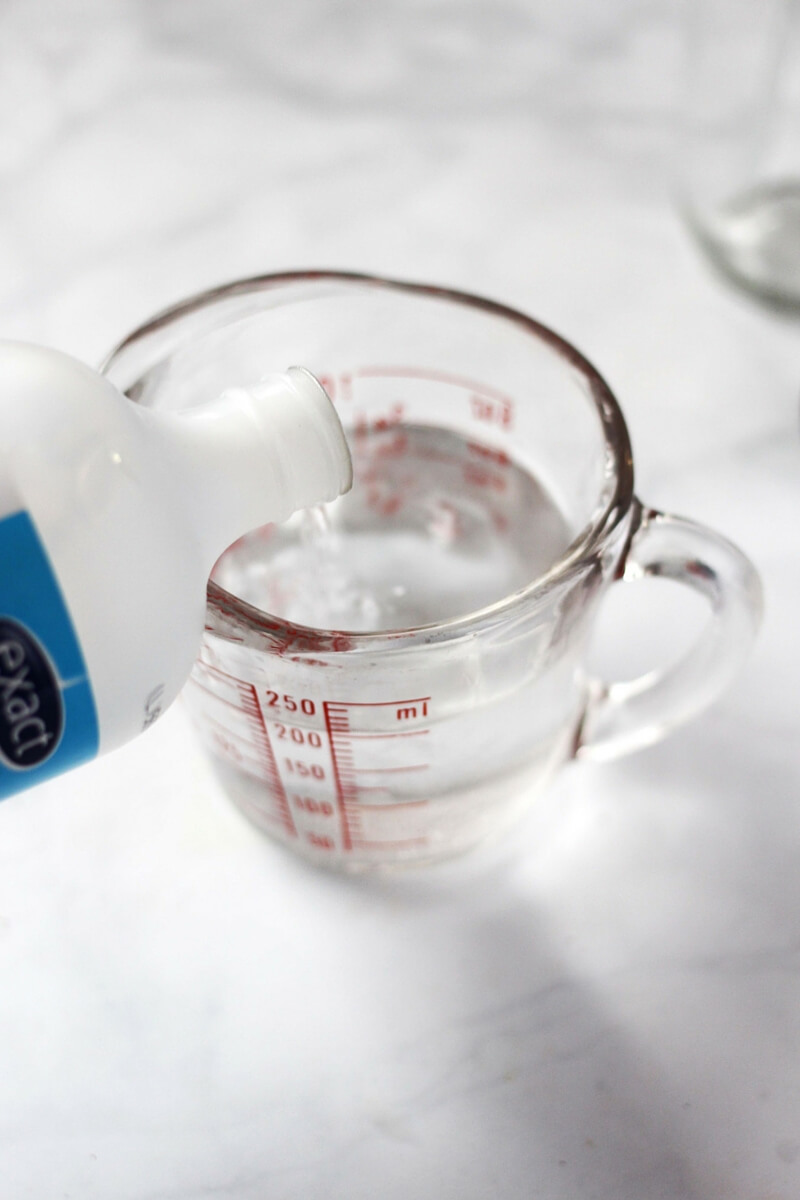
First, measure how much water it takes for your glass bottle to be completely full to the top. Dump out half of the water and replace that half with rubbing alcohol.
We used a glass measuring cup for this but a beaker set would be a very science-y addition.
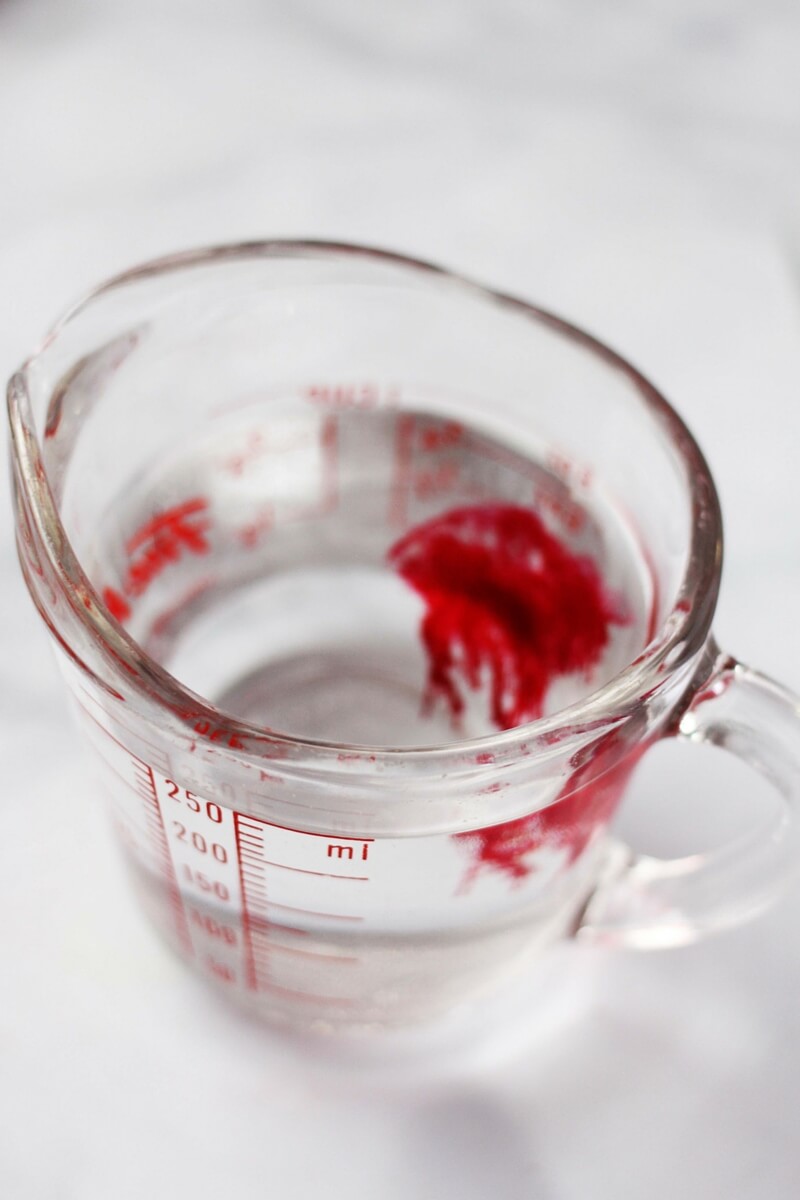
Next, add in the optional red food dye. This will make it easier to see the differences in temperature when the water-rubbing alcohol level rises in the straw, especially because you are going to have a drop of cooking oil on top (which might be hard to differentiate from the water).

Have your child carefully add the mixture to your bottle. I had my daughter wear protective eye covers but not protective gloves – take the safety precautions that make you most confident, and if you do choose to use gloves, use well-fitting gloves that you’re okay to get a bit messy.
You want to ensure that your liquid comes right up to the top of the bottle. Add a few extra drops as needed.
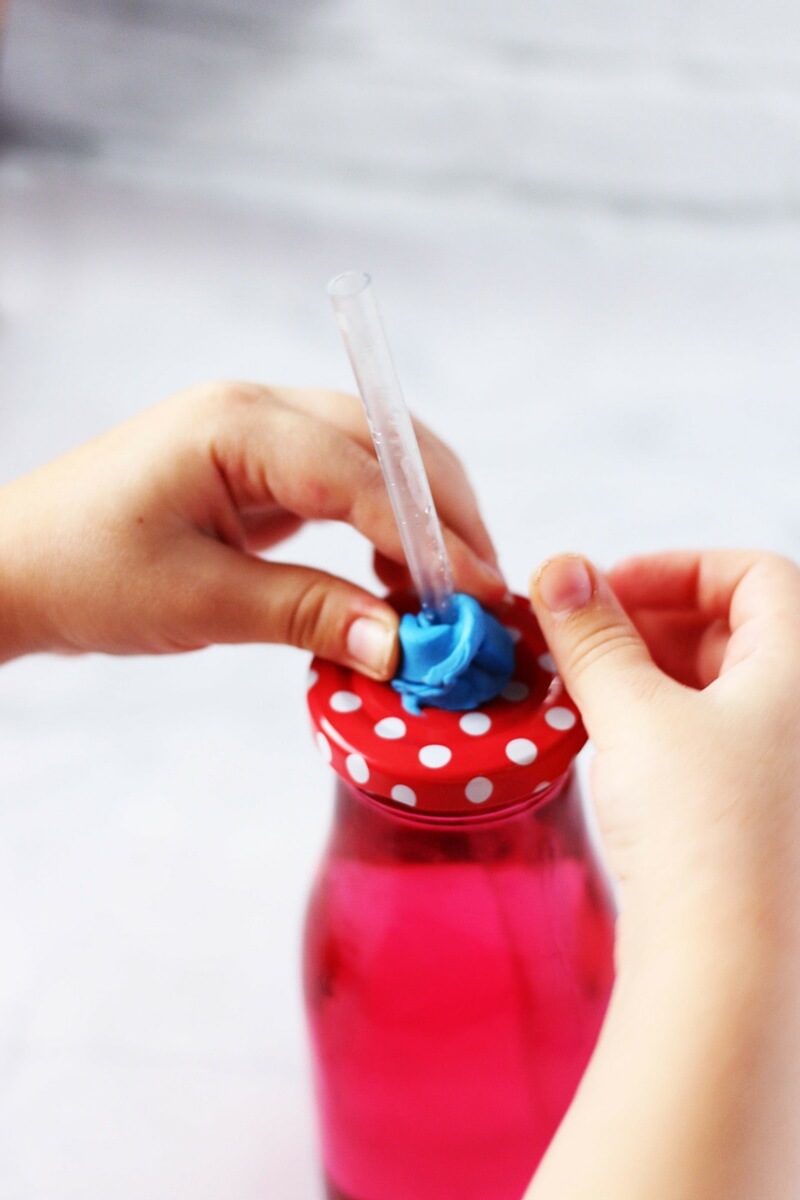
Insert the straw and secure a firm seal around the opening of the bottle. We used a lidded milk bottle and then added some sticky tack to really create a good seal around the straw. If air is able to get at the liquid, it will skew the accuracy of the thermometer, and slowly cause it to evaporate!
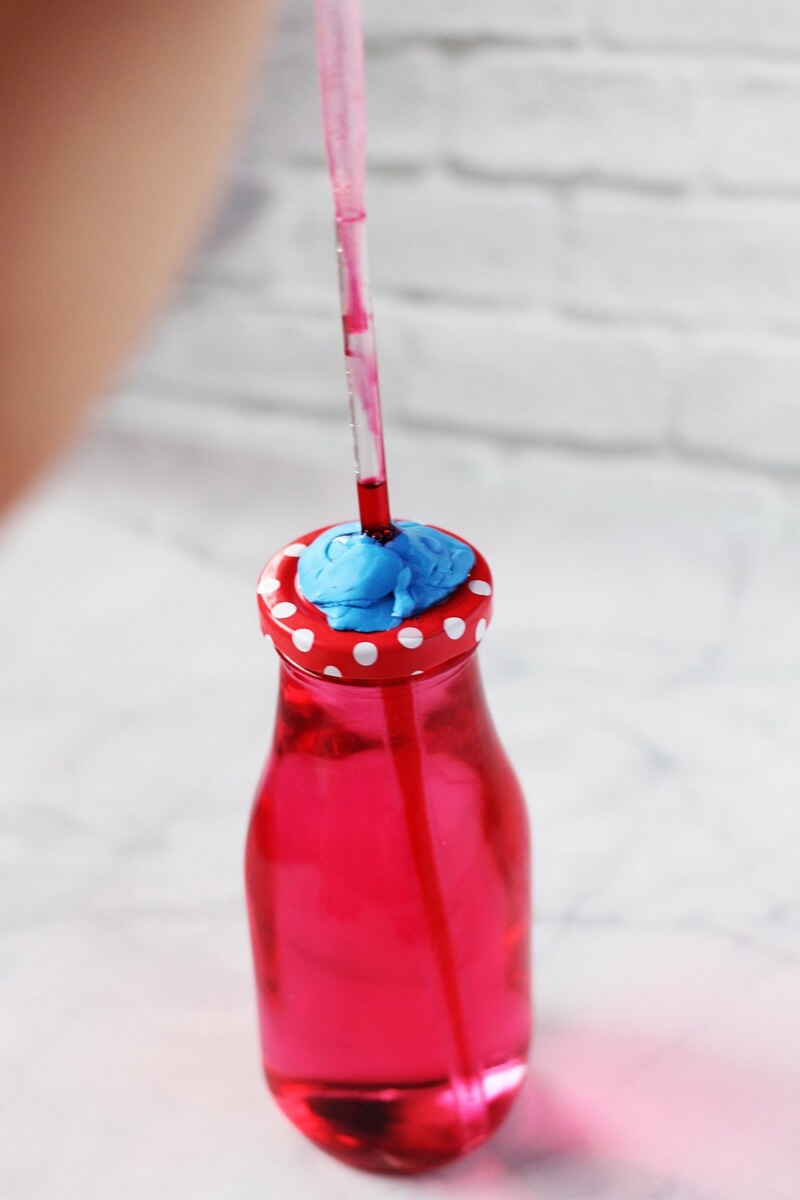
Next, use a pipette or eye dropper to add enough extra liquid mixture to have about 2 inches of the thermometer liquid in your straw. Let it set for about and hour and then check it again to ensure it’s still there and hasn’t settled back into the bottle. (If it has, fill it back up and wait another hour.)
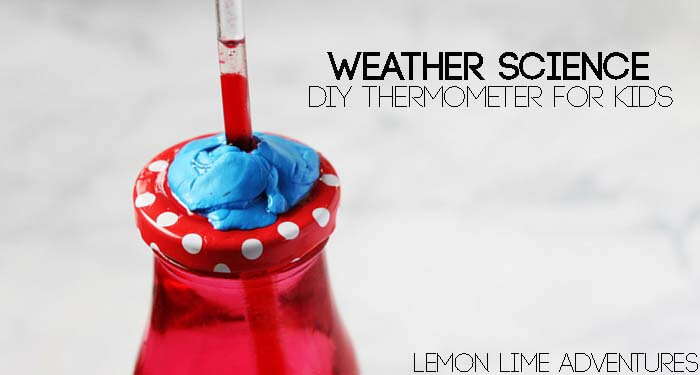
Once you’re positive that you have liquid staying in the straw, add a small drop of cooking oil to the straw to act as a “seal” and prevent the thermometer liquid from evaporating.
Leaving the straw like this will allow you to tell when the temperature in a room is hotter or colder than normal, but if you’d like to calibrate your thermometer, pair it with a REAL thermometer and place it in different spots throughout your house. Use tiny hair elastics or a thin-tip permanent marker to show where the different temperatures occur.
Tip: If you use different coloured elastics or markers, you can then add a small label or index card to the bottle to serve as “Colour Code Key” – so Purple means it’s 50F, Red means it’s 70F, etc.
What do you think? Would your kids love making their own DIY thermometer?
Find More Adventures in Science:
This is so fun!
We were going to try it last year with our weather unit, but never got around to it. I think we may need to give it a try this year!
I’m using this for a lesson I’m teaching online!
Does the straw have to be long enough to be touching the bottom of the bottle?
Thank you!